Masking Objects
Affinity Designer
In my opinion, this is one of the most helpful features in graphic design, being able to mask things with shapes. The problem is simple: you have a shape and want to shade it or add a pattern to it. You can fiddle around and make the pattern or shading fit your base shape or you can simply use the base shape as a mask.
The way to approach this issue is slightly different in various vector tools – and I have covered some in the past. Here’s the quick and easy way to do it in Affinity Designer.
Let’s start with simple shapes

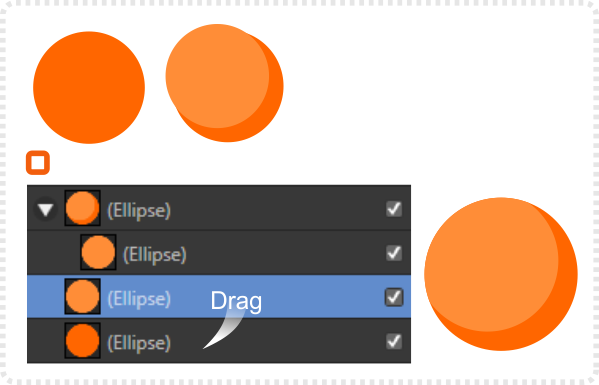
Let’s start with a circle.
Duplicate it and change the colour to a lighter tone.
In the Layers panel drag the lighter circle onto the darker. It will place the dragged object inside the target.
The same works for multiple objects.
Select all the objects you want to place inside a target and drag them on top.
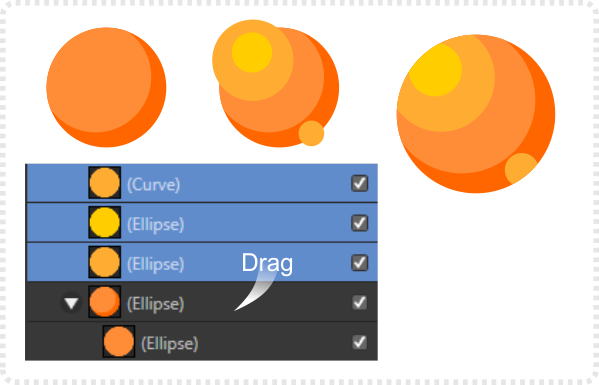
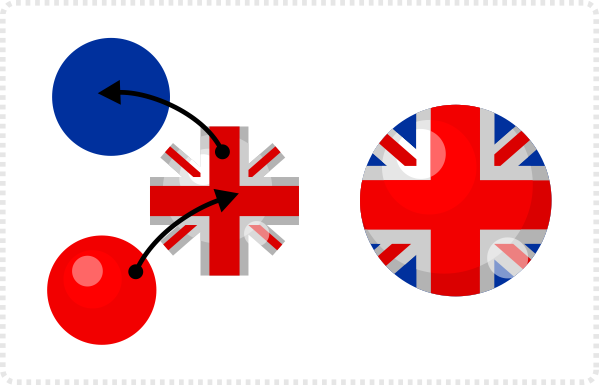
You can also add objects inside objects inside others…
It’s an easy way to mask while keeping all shapes intact and the mask itself easily modifiable.
Note:
Your target element can be any shape – not just a simple form.
E.g. take a rectangle, divide another rectangle from it and you have a frame.
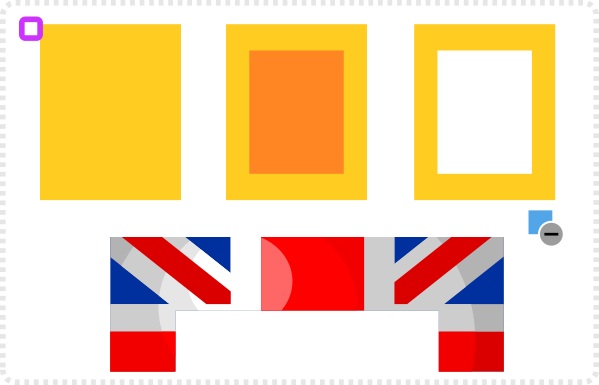
There might be illustrations where you need ‘a hole in the design’ – think of a CD/ DVD print for example. Rather than ‘cut’ all the elements in the centre of the design, it would make more sense to create a ‘donut’/ ring shape with the dimensions of the CD and place the whole illustration inside.
Note:
There are other ways to mask as well e.g. right-click in the Layer panel and chose “mask to below”. This will turn an object into a mask only – with no more visibility or fill.







Thank you very much. This is useful.
hi, about this topic, i keep having a crash, when i try to mask an object, through the right click option, in “arrange” we have the option of “move into”, did anyone else had that same issue? i m on windows, with the latest release of AfD. Maybe it’s my pc, and ofcourse, i can survive with the layer way, but still..