Rotating a face
Inkscape tutorial
Let’s start with a reference “front on” face.

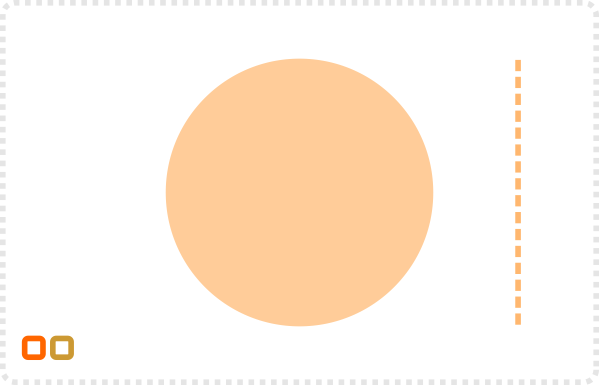
Start with a circle and a straight line.
Note:
I chose a dashed stroke to remind myself that these are just ‚guide lines‘ that will be removed in the final design.
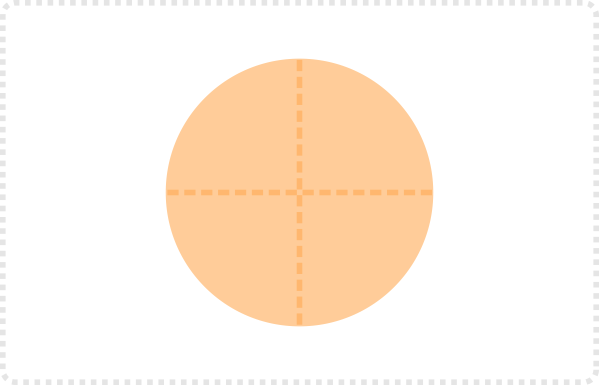
Align the line to circle and duplicate it. Turn the second line 90 degrees.
The guides mark the position of the eyes (horizontal line) and the nose (centre of the face).
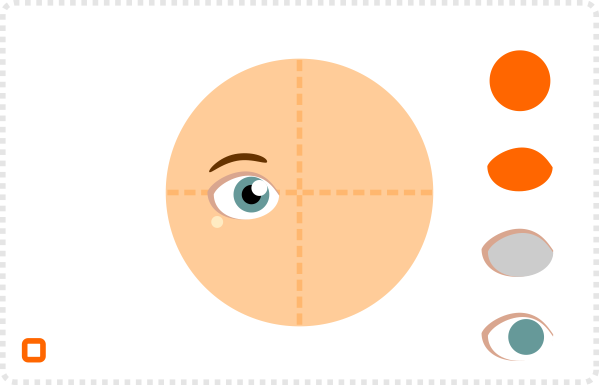
Place the first eye on the guideline.
Note:
I use simple circles to create the eye. Squashed in height and sharpened at the sides to create an ‘almond shape’.
Add duplicate for the eyeball and another coloured circle along with a black one for the iris plus a highlight.
With the basic elements in place, it’s time for some decorations.
Two more rectangles make up the boards on the front, a square is turned into a window and combined with another rectangle and a circle makes the door.
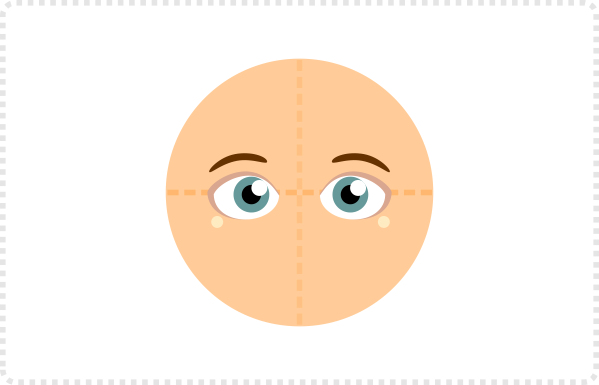
Basic setup
Once the mouth is added, the basic setup is complete. The emphasis is on “basic” as you can add a lot more. Scars, cheekbones, eyelashes or a moustache add to a character’s unique design, just to name a few. Remember that all those objects need to be skewed and scaled as the head moves around.

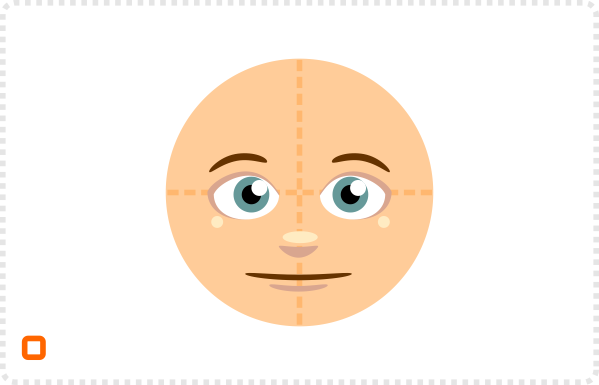
Additional circles make up the nose and mouth.
The base face is done and functions as a reference and source of the elements for the rotated views.
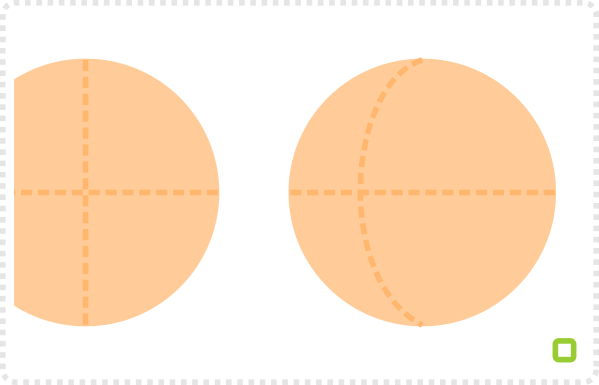
Let’s make the face look towards the left now. Duplicate the circle of the head and the guides.
Edit the vertical guide and curve it towards the left.
It should look like a ball being rotated slightly and the straight line now curves with the roundness of the ball.
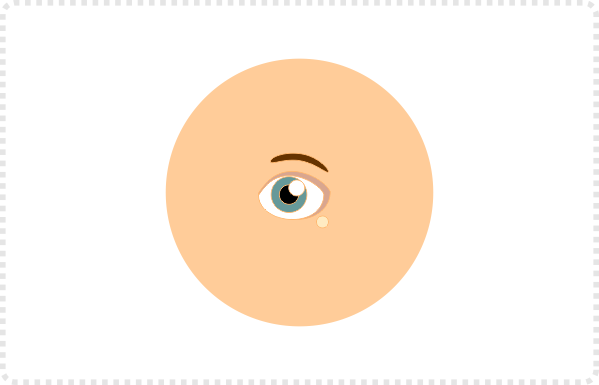
Duplicate the eyes and add them in the horizontal guide.
The spacing from the vertical (now curved) guide should be the same as in the reference (front on) face.
With the rotation, the space on the left side of the face is smaller as that side is turned away from the view.
The left eye needs to be scaled in width accordingly to match that rotation.
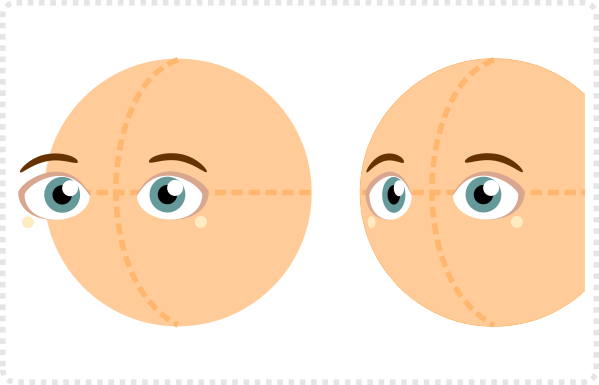
Rotation along two axis
The first rotation sample was very straight forward. When the head tilts as well as rotates or rotates along both vertical and horizontal axis, things become more challenging.

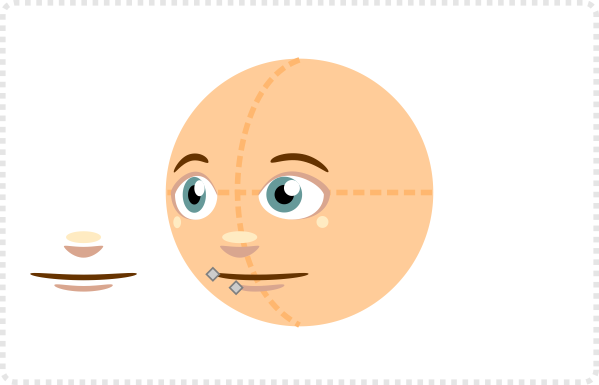
Add the nose and mouth and place them on the vertical guide.
The left side of the mouth should also be a little smaller. Simply move the left node over a little.
Moving the circles in the eye over will enhance the rotated look.
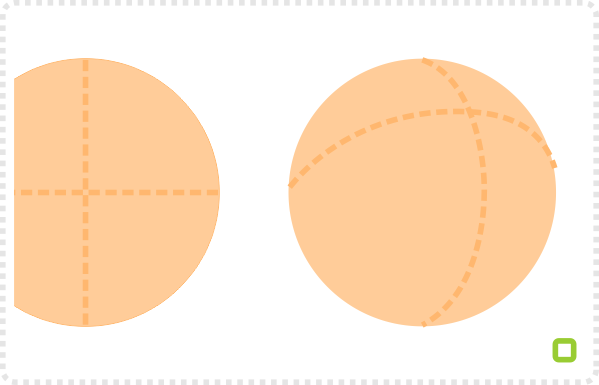
The same approach would work for a combined turn of e.g. up and right.
Curve both guides and add the elements again.
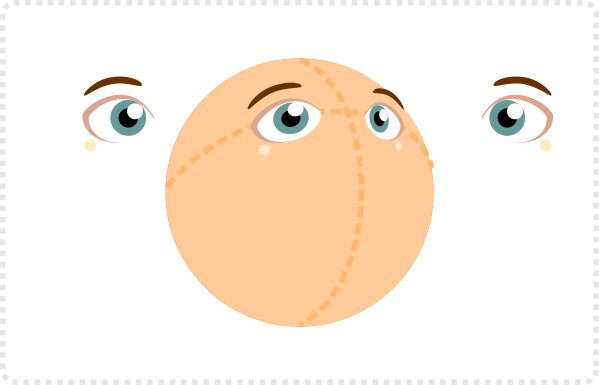
In this case the left eye would be squashed in height as well as rotated to fit the guide line, while the right eye would be reduced in height and width and rotated
Add the mouth and nose along the vertical guide.
The rotation makes the mouth moves further up and it would be slightly bigger. Scale its height to adjust.
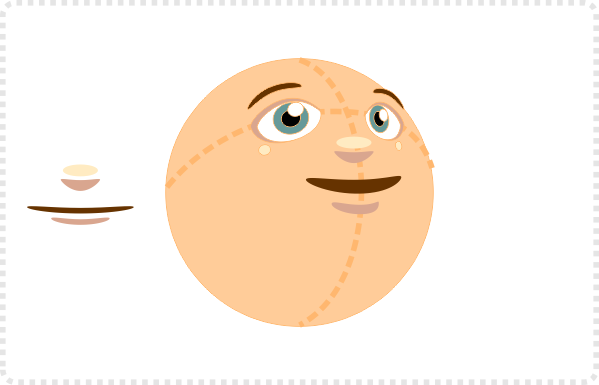

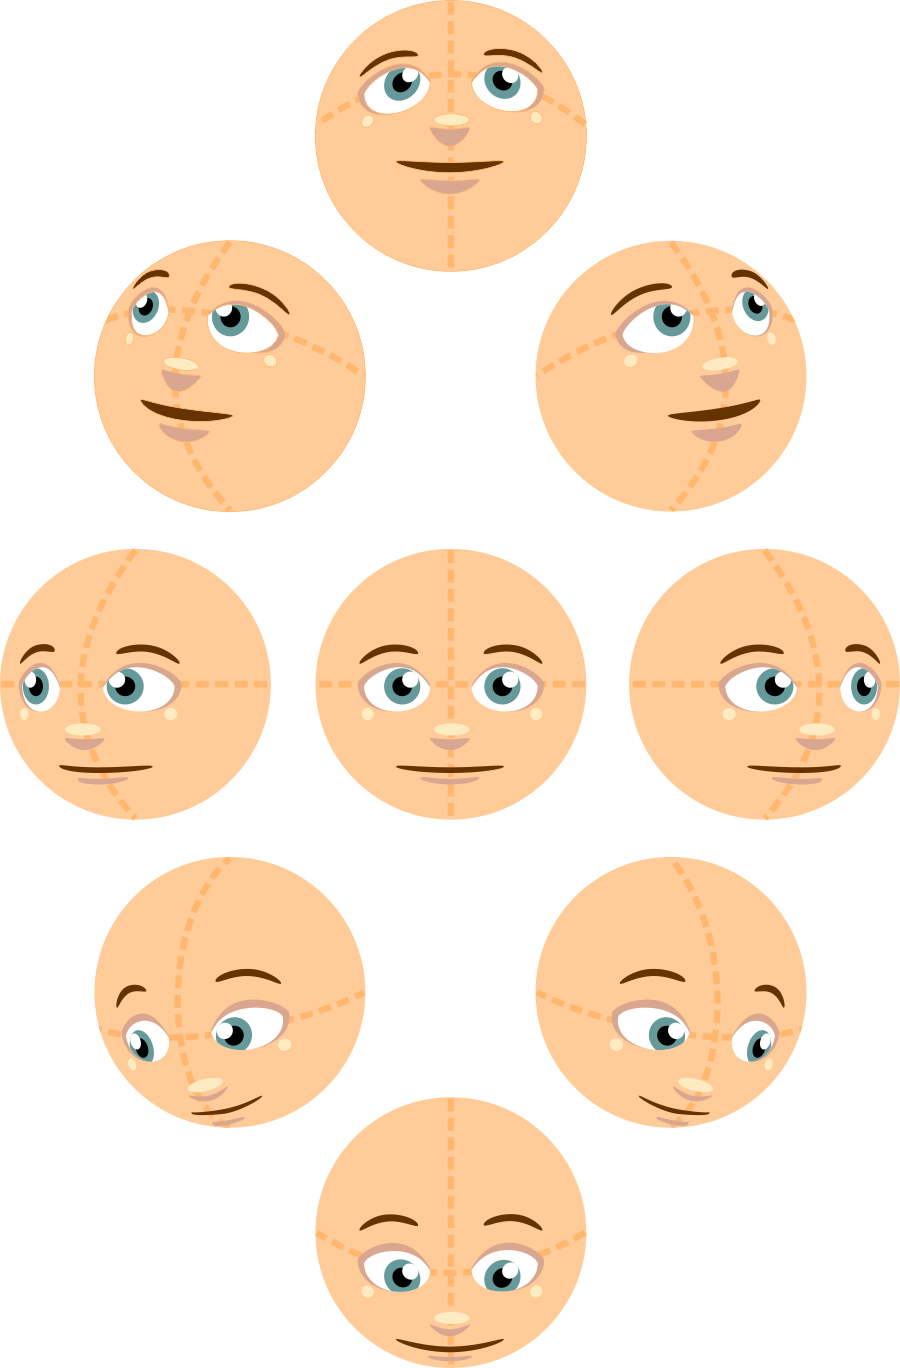
This is just a basic facial setup put onto a circular face. It works fine on smaller and simpler characters. However, as soon as you add more elements like cheeks, chin or shading those elements would need to be altered along with the rotation.
Note:
This is just a quick shortcut to doing a facial rotation. Working off reference images helps in achieving more realistic effects.
I hope this gives you some idea and helps start with a more consistent turning of the face. This way you might avoid starting from scratch with every new angle you’re adding.







Awesome
That's a really helpful tutorial. Now I can make my characters move to something else than 3/4 view! :P
Very helpful Tutorial Thank you very much.