Creating Clouds
Affinity Designer Tutorial
This an altered version of the Inkscape tutorial on creating clouds. It shows the workflow of the previous Inkscape tutorial in Affinity Designer (by Serif). I am using the free beta version 1.5.0.5 for windows in this tutorial.
The main changes are the names of the tools, the short-cuts and minor differences in the way the tools work. So… let’s get started with circles or as Affinity Designer calls them – ellipses. Keep in mind that this is just one way to do it and you might prefer hand-drawing them or using the pen tool and creating the curves manually. I quite often use these ‘quick clouds’ for layered backgrounds – usually with a few layers of mountains, trees or even city skylines on a layer on top.
Let’s get started

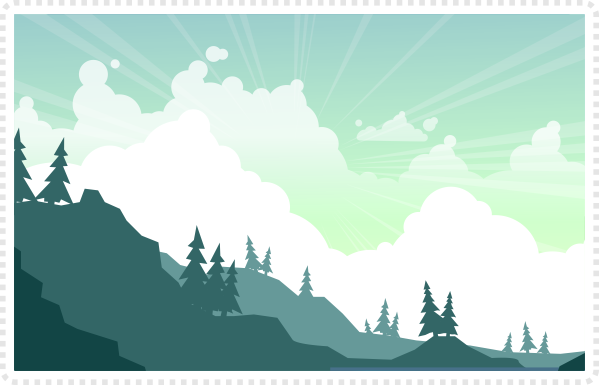
When doing clouds in the background of an illustration or game screen you rarely want it to be too detailed as that would cause the background to stand out more.
Here’s a sample from a game I did a while back. A gradient sky with some basic clouds.
Those clouds are really quick and easy to create by starting with an ellipse [M].
Note:
Holding [Shift] will restrict the proportions to create a circle. With [Shift + CTRL] you also lock the centre.
Create more circles or duplicate the existing circle [CTRL + J] and vary the size.
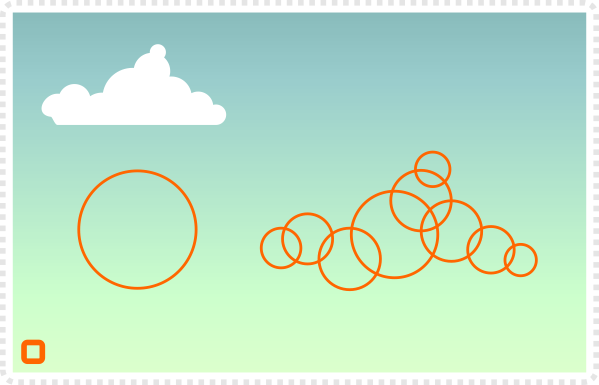
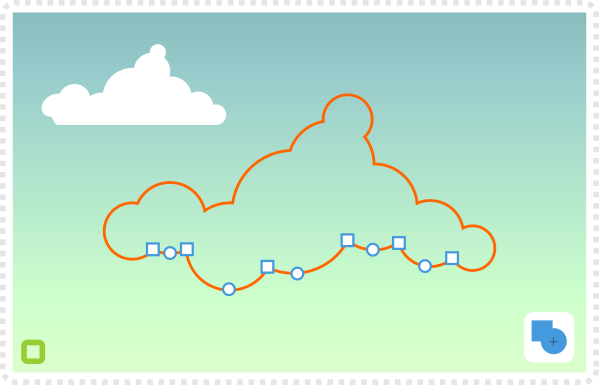
Select all the circles of the cloud shape and convert the objects to paths [CTRL + RETURN].
Combine them with Layer/ Geometry/ Add [Ctrl+ +] or
the add tool in the
top right to create just one editable shape.
Select the nodes at the bottom of the cloud [A].
Delete those nodes to give the cloud a straight bottom.
Set the colour to white using the colour wheel in the top right.
With the transparency tool [Y] give the cloud a transparent gradient.
Note:
The preset for this tool is already set linear fill.
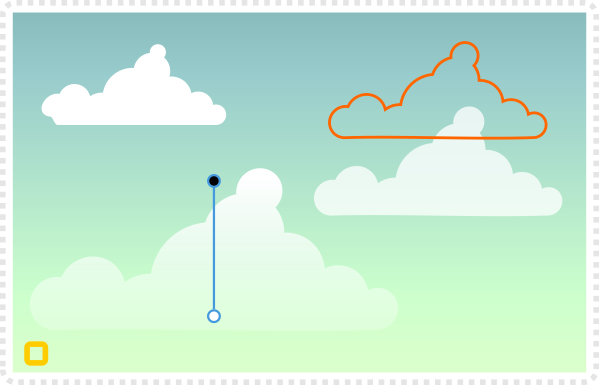

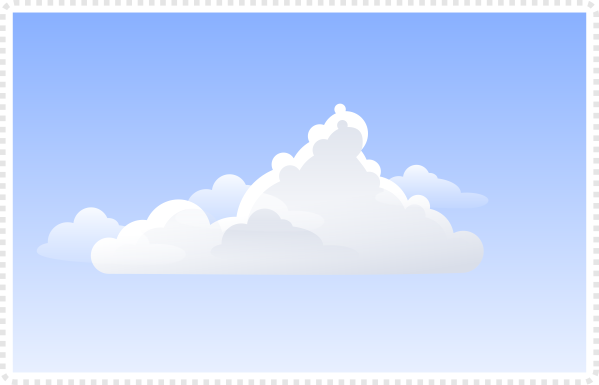
As always variation is key. Play around with the shapes and don’t stop with one cloud shape and copy it all over the place.
It’s easy to adjust this style to go for a more detailed and shaded look.
Instead of using a gradient towards transparency at the base try a light grey with a tad of the sky colour in it for the bottom of the cloud [e.g. RGB 220/ 220/ 240 with a blueish sky].
Note:
Angle the gradient a little bit to avoid the lines showing in the gradient when printing or exporting to bitmaps.
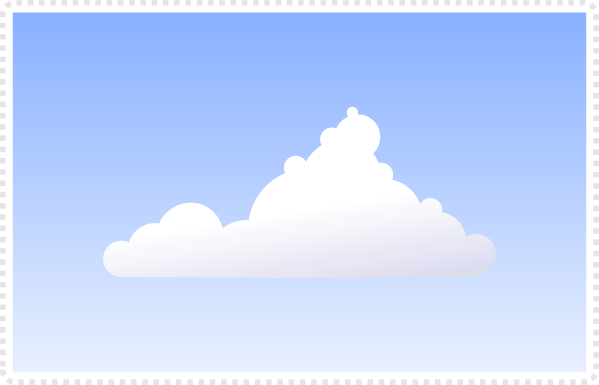
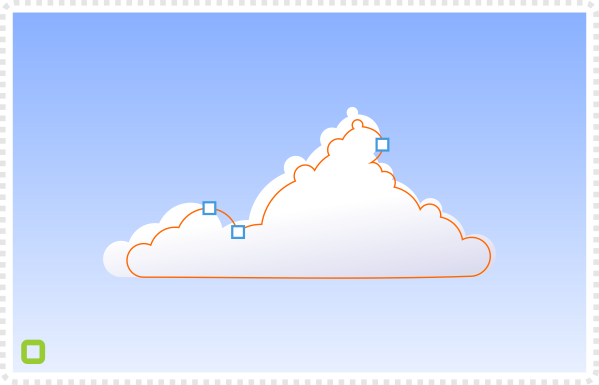
Create a duplicate of the cloud shape and fill it with the shading colour with gradient towards a transparent base.
Scale it down a little bit and bring in the nodes that do overlap the original cloud shape.
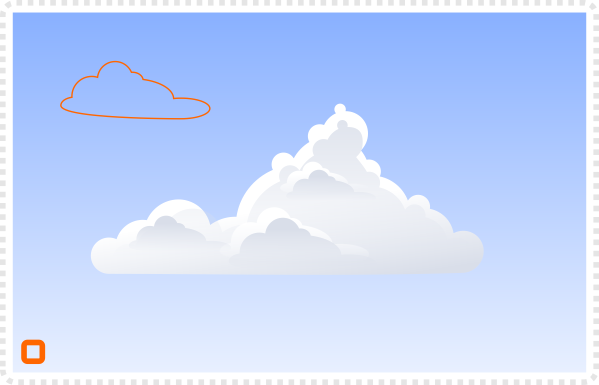
Create smaller clouds for variation and added shading using a gradient to full transparency to easily stack them inside the cloud shape for added shading.
Offsetting a lighter shade and a darker one on top creates additional highlights and volume for your cloud.
Variations
With these basic steps, you can create a huge amount of variations. Try altering the colours, the angles, the number of circles or directs the clouds are pointing to create atmospheric skies.

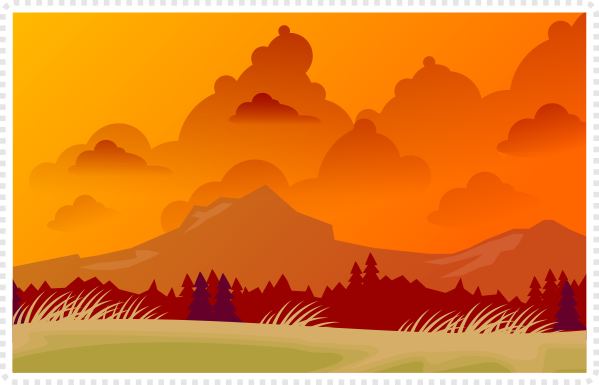
Colours can easily work in reverse with a lighter sky and darker clouds.
Try changing the colours for a more alien background with a purple sky and dark clouds or sunset feel in orange with the clouds going dark red.
To add more wind and a more dynamic look to the clouds you can work with more elliptical shapes on one side of the clouds.
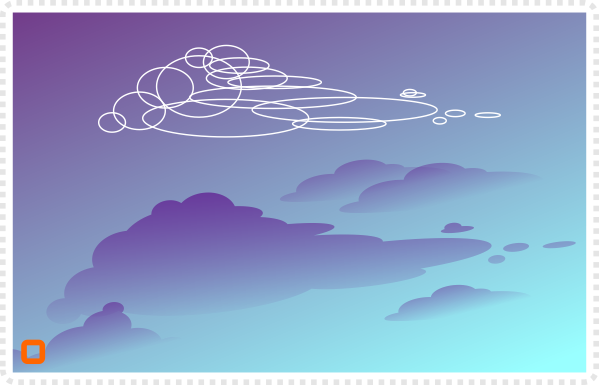
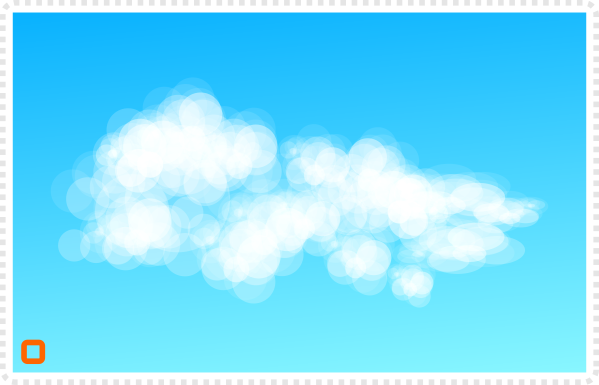
There are a lot of approaches to creating clouds.
The one on the left consists of a whopping 550 circles with high alpha that create the shading by being stacked on top of each other.
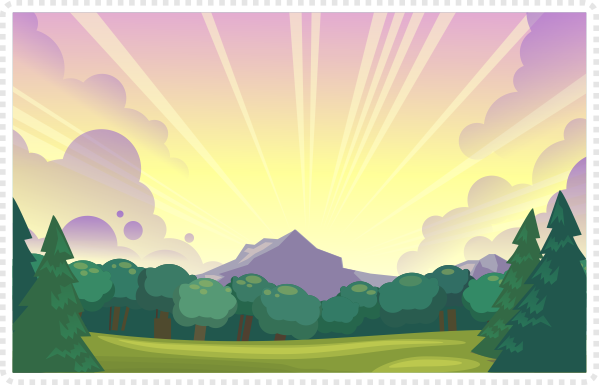
You can try different angles of clouds to guide the viewers focus or frame the illustration with big clouds on either side.
Try playing around with the idea of this tutorial to find a style you like best.







Recreating a tutorial for another software just one day later, you are the BEST!
too easy… It would be ideal to write the tutorial once and convert it to Adobe Illustrator, Corel Draw and Affinity right away… and then go with different languages… but… seeing I do this for fun, there simply isn't enough time to do it all…
From your experience in Inkscape and Affinity designer, which software is better and easier than the other one ? :) :)
It's a little too early to say. I just started getting into Affinity Designer. There are some big pluses with that tool as far as usability, UX and UI goes. If you are starting with vector tools it's probably a little easier to get into Affinity Designer but it has some limitations in it's toolset where Inkscape offers solutions.
I will write a more detailed review and a comparison of these two and some others in the very near future.
If you have time, I would try both and see what feels better for you. If you just want to look into one tool and see if vector art works for you in the 1st place, I would suggest Affinity Designer as the more polished tool with the lower learning curve.
I will be waiting for your comparison of both softwares, Chris.
From user interface point of view, of course, Affinity designer is much better, but unfortunately there is no linux version for it and that's one reason of many others why I am Inkscape big fan :) :)
I just ran into your g+ page, looking forward to seeing what you got, looks good soo far.
Will definitely give this a try, been creating my own portfolio in the last 6 months so I can use it to teach students from professional essay writing services some basic programming language.
Excellent tutorial on drawing clouds. I am working on a drawing of an airplane and needed some clouds fo the background, you have given me some great ideas to move foreword with.