Design a Cartoon Cactus
Inkscape tutorial
Let’s start

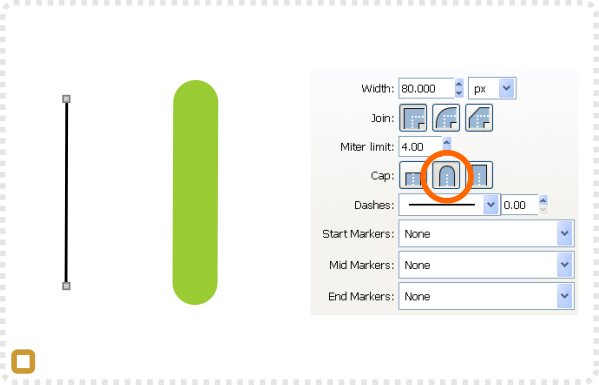
Start with the straight line tool .
Set the stroke colour to a nice green and change the stroke style…
… to a thick line and a rounded cap. Set the stroke colour to a nice green and change the stroke style
Make two duplicates with slightly thinner strokes. Add a node to those and deform them into an L shape.
Change the L shaped lines to curves and round corner a little bit to look more natural.
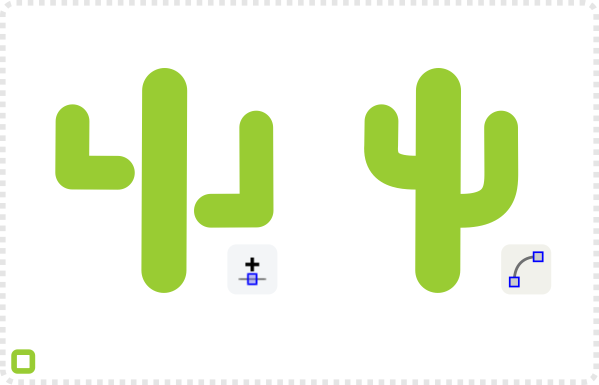
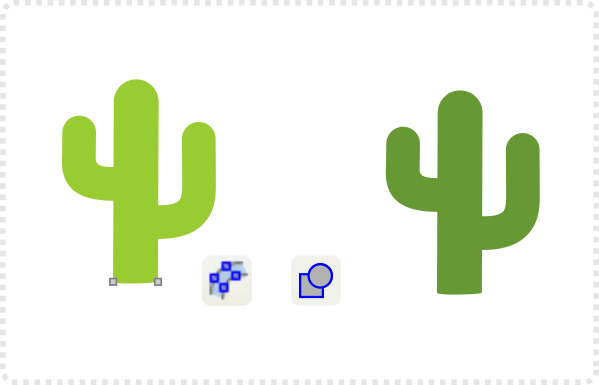
Use the Path/ Stroke to Path command to convert the lines and flatten the nodes at the base.
Duplicate the shape and give it a darker green. This will be the shaded part of the cactus.
Use the node tool, select all nodes, convert them to corners and move the to releave the lighter shape.
Create a box to cut part of the shaded shape with Paths/ Difference (CTRL + -).
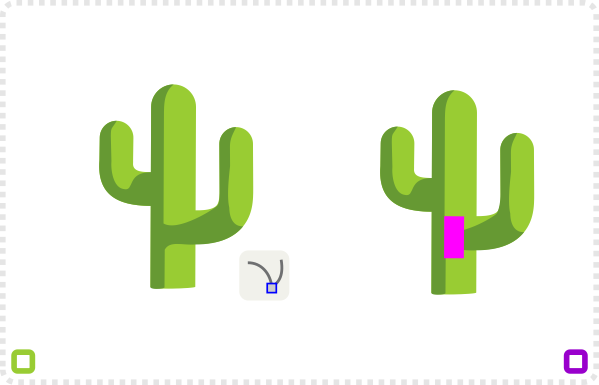

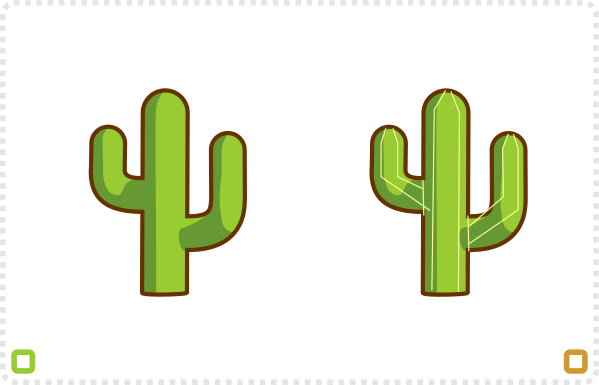
Adjust the nodes and then add a duplicate of the lighter shape, remove it’s fill and give it a thin outline.
Use the straight line tool to add some detail to shape.
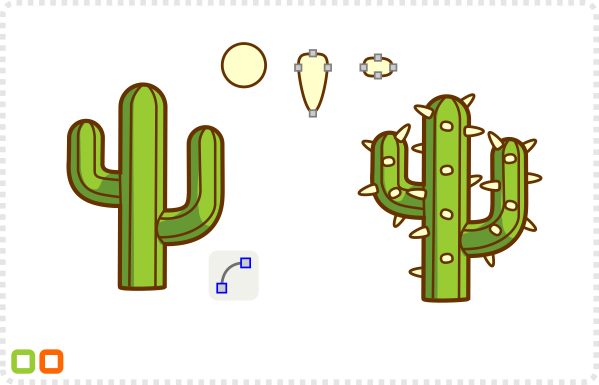
Convert those lines to curves, add a stroke colour and a thickness a bit smaller than the main outline.
Create circle with the same stroke and deform it into two thorn shapes.
Place, duplicate and rotate the thorns and place them all over the cactus. Move some behind with Page Down.
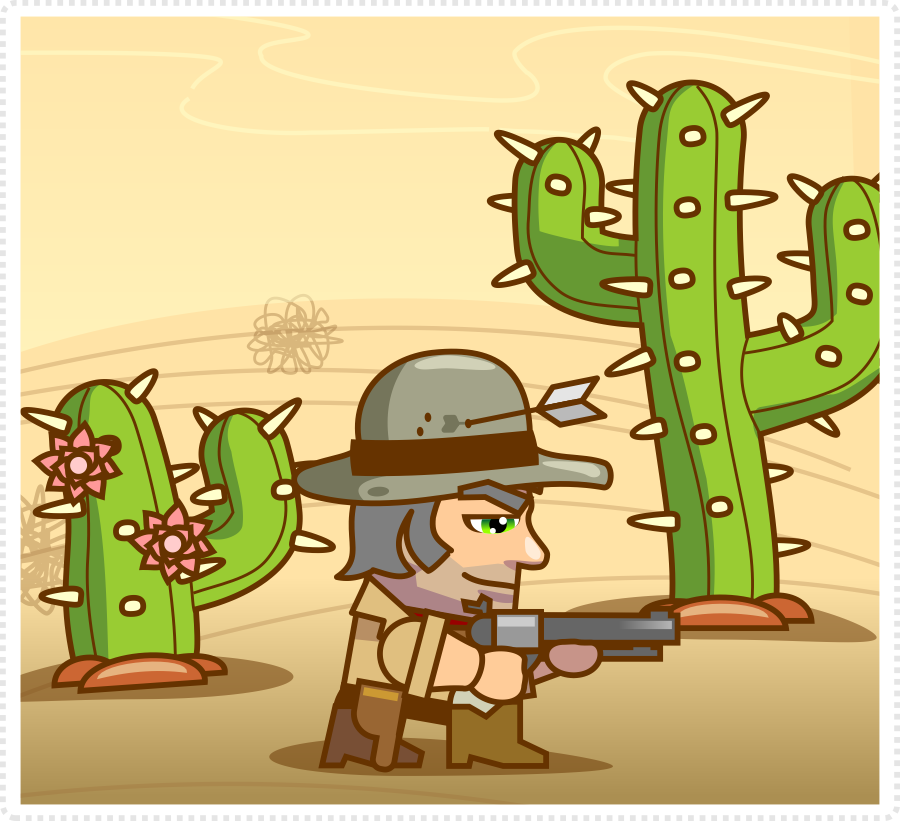
Add variations, curve the main stem, shorten or add some flowers to make it look more interesting.
I hope this is helpful, Andrea. Enjoy!
Get the source art (SVG and PDF file) (does not include the BlockBuddies cowboy) of this tutorial for free.







nice , but desert needs camel more than cactus :)
good job hilden :)
Well done, that looks pretty good to me!
Thank you very much Chris, this is so helpful!
great tutorials, keep working :)
Very Nice tutorial! I am making a 2D iPhone game and I am currently having a hard time with environment art(especially platforms). Could you make a tutorial on that?
Keep up the awesome work!
CharlesL
I'm very impressed with your artwork, it's incredible, I'll use some tutorials in my actual and future android games. Please continue the good work.
Hey SpriteAttack, great tutorials. I'm glad I found your page. I am a programmer and horrible artist so I'm so happy to finally find some GOOD tutorials as most others are really old and outdated.
I have a few questions though if you don't mind answering. First, how should you determine size of your assets when planning your game? For example most of the free tilesets you find around the net are either really old or ripped from old NES games and most of these are usually 16×16 which is extremely small and sometimes even hard to see. I assume this has to do with most older games using a restricted resolution based on screens and monitors of the time. What about now a days though with high resolution monitors and high def TV's having much larger resolutions, what would be an appropriate size and how should everything be scaled appropriately so things don't look disproportionate unless that was the designers intention. Secondly, if my size of tiles is say 32×32 or 64×64 should all other tiles and characters be of the same size or is it okay to have different size tilesets combined.
When you create objects like houses and castles in games. I usually see these painted together in a tile editor and it seems as though buildings and other objects are composed of multiple tiles as well. How would these be created? Would you create an entire house or castle first and then in Photoshop or Gimp break the image into tiles and save out each image separately
Also, wouldn't mind if you have the time, seeing a tutorial on creating interesting and cool background images which you can place on layers behind your tile sets and have them seamlessly for scrolling purposes. Also, some more tutorials on creating tilesets of different environments as well.
Awesome work though, I love this blog.
Great tutorials! I have a request if possible Im trying to make a game and I was wondering if you can show how to make a texture atlas.
Thanks
Hey man, your blog is like… Awesome XD
Could you please teach us how to create platforms? (Ground underneath, grass above) (Ice platforms, etc.)
I'm SOOOOO exited :D ^_^
Thanks
@Stepehen Day – Yes… most of the tilesets derive from old games that had very restrictive hardware allowing limited colours and only small size blocks. I remember doing tileset in 8×8 pixels – something I wouldn't even be able to see on my current hi-res display. My suggestion would be to go big 64×64 or even bigger when creating the tiles and depending on the gameplay, engine, output resolution scale the tiles down later.
I will keep those suggestions in mind and add them to the long list of tutorials to write.
@Luis – Texture atlas… mmmmh… I am not sure I can cover that well as I usually rely on my coding buddies and their tools when 'packing up' the art,
@Curious – I added those to the list. I have the art sitting here – a whole bunch of different platforms for 2D side view levels. I just need to find the time to pick them apart and write it up. :)
I really like what what you're doing man…
And I highly appreciated what you're doing (hope you enjoy it like, I don't, superb ;) )
BTW, COOL blog ;)
When I try to make it a L-shape a triangle thing stretches between them. How can I fix it?
I am having the same issue as Bob. Any ideas would be appreciated.
Thanks!
Could it be the fill? Inkscape creates a 'closed' shape for the fill – even without the missing diagonal line. Turn the shape to no-fill and the triangle will disappear.
Can I ask what program or software did you use?
For these tutorials I use only inkscape and gimp as they are both free and very powerful.
great tutorials, keep working :)Thanks for sharing your nice post. id maker online