Creating Lightning Strikes
Inkscape Special FX tutorial

Getting Started

Start with a dark rectangle as the background for the effect.
Draw a shaky line with the freehand tool (F6). Start by adjusting the smoothing (simplifying of the line) to ~30 to keep a the amount of nodes manageable.
Select the Stroke paint and the flat colour option and a light blue colour (e.g. RGB 0/ 225/ 250).
Adjust the stroke width to get a line of medium thick-ness.
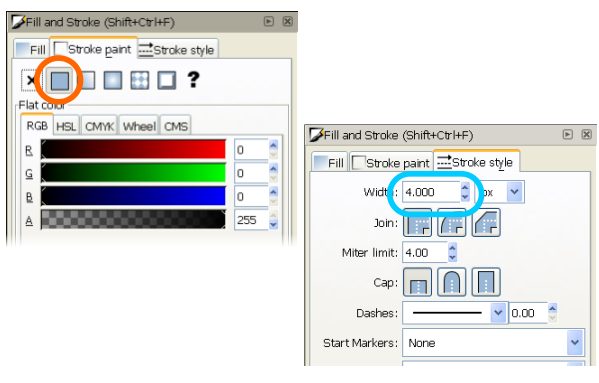

Add some more nodes if needed to get an even spread of nodes. Add some shorter lines with a thinner stroke. Select the lines, convert all of them to paths.
Combine the shapes with the Path/ Union option (CTRL + +).
Edit the nodes to create some variation and form sharp ends to the lines.


Duplicate the lightning shape and add a blur effect to one shape (Blur/ Filters/ Fancy Blur) to create the glow. Move this shape below (Page Down) and add a gradient fill (white to white with high alpha) to the top shape.

Details and Glow
With a some additions it turns into a nice lightning strike at night.
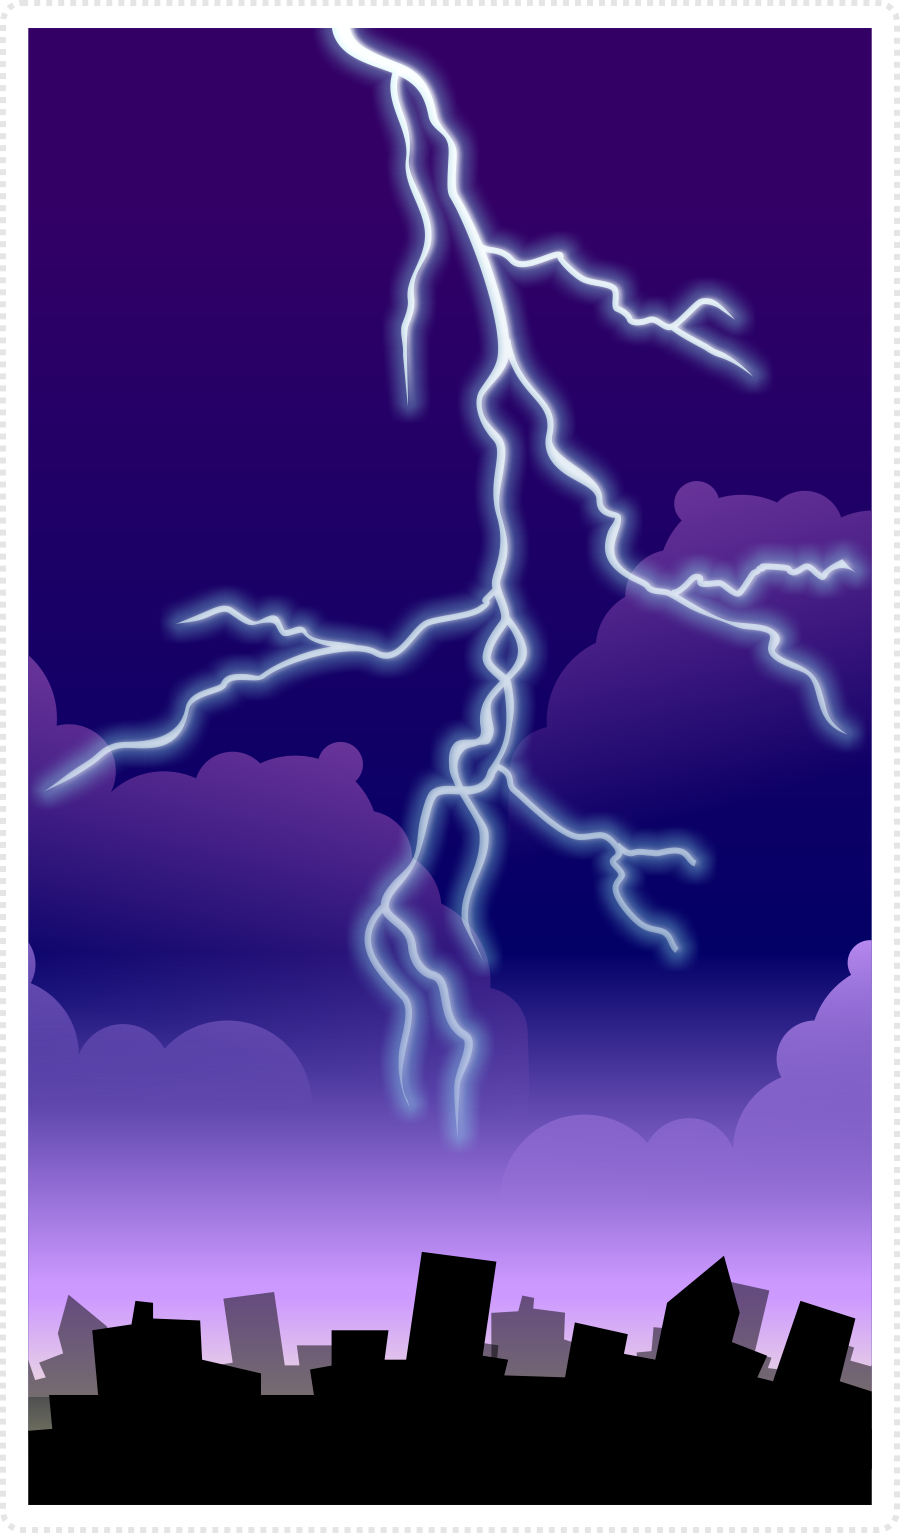
As with most effects it’s a matter of playing around with them to get them right. Alter the colours, change the line width and the deformation of the nodes afterwards until you get the effect you are after.
If you want to animate these I suggest doing the lines first and altering a copy of the line shape in a new layer [see the animation tutorial for this]. Animate the shape roughly and not too similar. After creating a few variations of the lightning strike, start with the conversion to paths.
I hope this quick tutorial is helpful to some.







These tutorials are phenomenal! Thank you for doing these.
Sometime, I would love to see how you do explosions. I can honestly say they are the single most frustrating thing for me to make, I can't really figure out how to get them right.
Thank you for the tutorials, they are very helpfull.
I always wonder one thing, how do you come up with the color schemes? What is the theory behind this?
Excellent tutorials, but the image links are broken.
My server went down… ; …. I am changing the images to Picasa at the moment… They should be up and running again in no time…
u should consider writing a book , im sure ill buy it ..and art has always been a problem for programmers ….ur tuts are really simple and awsome )D
and i much appreaciate ur choice of tools
GIMP and INKSCAPE ..instead of ps and il :D
Thanks Kamalesh… I am seriously thinking about it… It;'s a lot of work but should be good fun as well…
thanks Kamalesh. your blog is fantastic!!!!!
Hi,
First of all, your tutorials are excellent! I like how I build up my knowledge of Inkscape while making all sorts of interesting things. Making graphics for my game is going to be much easier thanks to you. :)
I have one question about this tutorial, though. How do I make the sharp ends of the lines? All I found was I could move them around or make them square/round.
Is it mentioned in some tutorial I accidentally skipped?
Also, when I tried to do a union of the objects (after converting to path) it created straight lines from their start to their end. I have no idea what happened there, so I grouped them instead.
Thank you in advance!
Nevermind, the tank tutorial answered my question about the pointy ends and the union worked this time (I have no idea why). :D