Quick Curly Piggy Tail
Affinity Designer Tutorial
This is a request from a social media site about the creating of a curly tail for a pig. The same principle applies to overlapping objects like spirals or even curly hair.
Let’s start

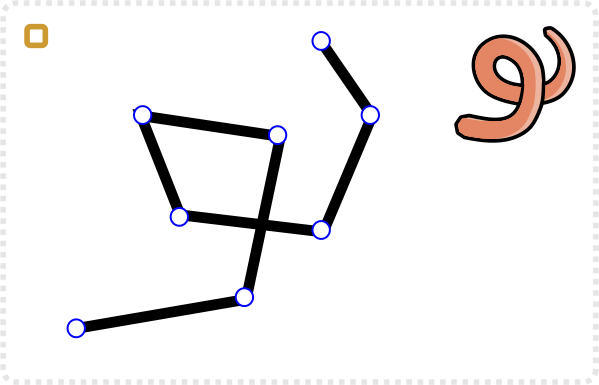
Start with the basic shape as lines with the pen or a quick squiggle with the pencil tool.
Note:
I prefer the pen tool as it gives me more control over the placement of the nodes.
Adjust the stroke thickness.
Select all nodes and set them to smooth.
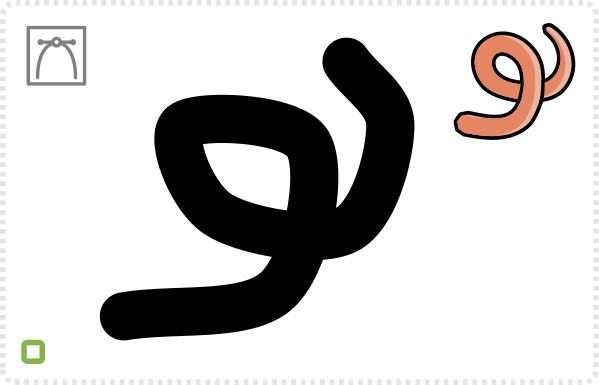

Manually adjust the nodes to smoothen the shape more.
Usually, it’s a matter of bringing out the control handles a little more to avoid ‘sharp’ corners.
Set the stroke to taper off at one end in the stroke “Pressure” settings.
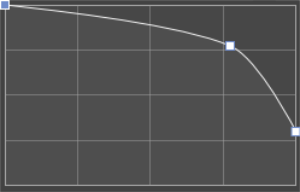

Different Tools
Affinity Designer makes it easy to adjust the thickness of the stroke and you can add a bunch of points to the curve to make it a wild wave. A lot of tools don’t have this pressure attribute for strokes but there are ways around it. Inkscape offers the Path Effect/ Taper stroke, which allows for a similar effect. In CorelDraw it’s called Artistic Media tool.

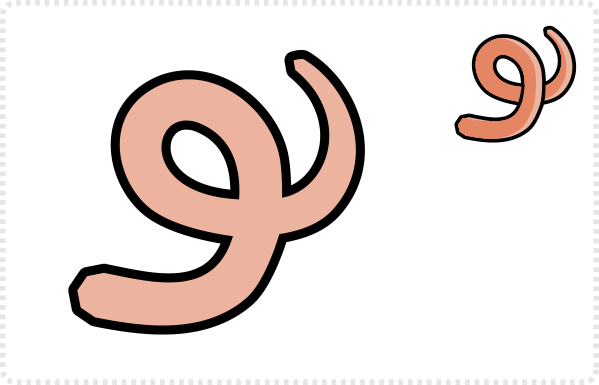
Convert the stroke to path via ‘Layer / Expand Stroke’.
Add a stroke to the shape and give it the desired colour.
Create a duplicate of the object [CTRL + J] and colour it darker.
Remove the stroke of the new shape.
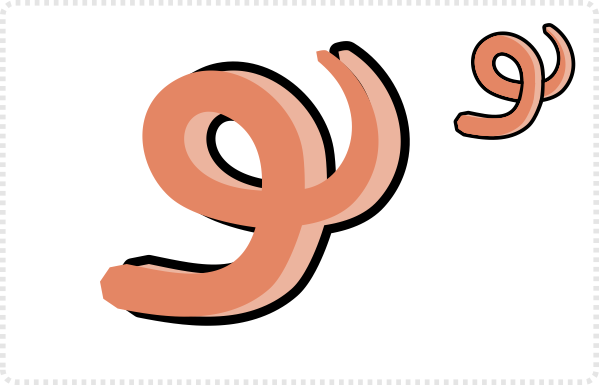
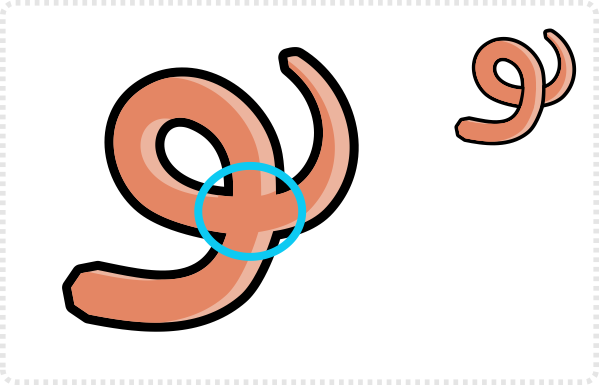
Place the new shape inside the first one [ simply drag it down and into the shape in the Layers list].
At the moment it’s not clear which part is on top of the other.
Create a shape in the base color to cover the overlap area – e.g. from a rectangle or with the pen tool.
Do the same with two shapes for the outline.
Place in position and adjust the nodes to match the curves of the base shape.

This tutorial ties in with an earlier tutorial on “Creating a character with outlines“. It was created for Inkscape but applicable in Affinity Designer as well.
Outlook
This was just ‘out of the schedule’ tutorial as an answer to a question raised on social media. I hope it did give some helpful hint on how to create things simply and easily.
The planned tutorials are still in the pipeline. I have been busy with some major work and sidelined with health issues (which is annoying me big time). I hope to get back into a more regular posting and update routing by next month.






Looking great work dear, I really appreciated to you on this quality work. Nice post!! these tips may help me for future.