Character animation
Inkscape tutorial
This is a basic introduction to character animations in Inkscape. Obviously, this is just one way of doing animations. It’s very similar to old school cut out animations. Though, it might not be as fluid as hand drawn animations or 3D work. Its straight forward approach makes it easy to follow. In short, it works quickly and quite well with small size sprites.
Creating the [soon to be animated] caveman
Basically, it’s the same process used in the ‘creating a game character’ tutorial. I added complexity in the facial features. Also, the setup of the limps is altered.

The Head
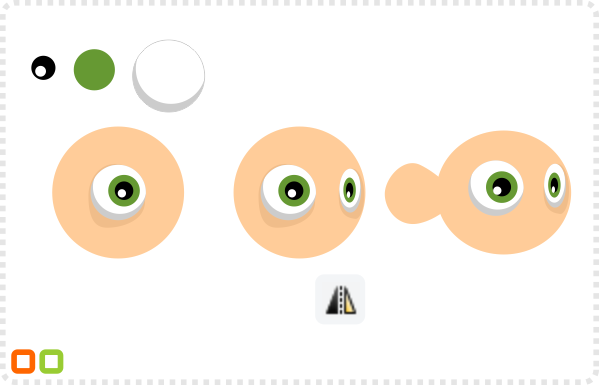
Let’s start with some circles for the main shape of the face and the eyes.
Group the eye, duplicate and mirror it. Scale it down and position the smaller eye at the right edge of the face.
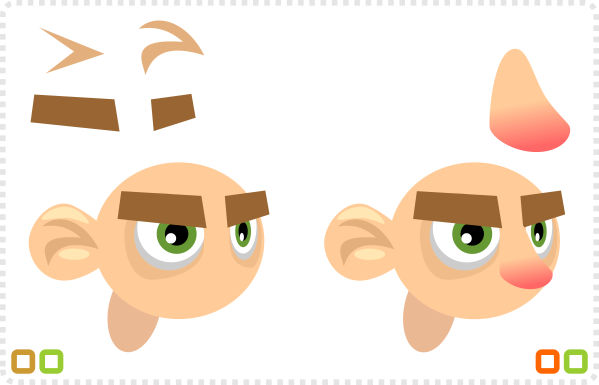
Add another circle, modify the right node to form the ear.
Using the line tool draw an arrow shape with four lines. Convert the lines to curves and modify them.
Two circles create high-lights on the ears. Two squares form some thick eyebrows.
A circle becomes the neck and another one the nose. Use a gradient fill on the nose and curve the nodes.
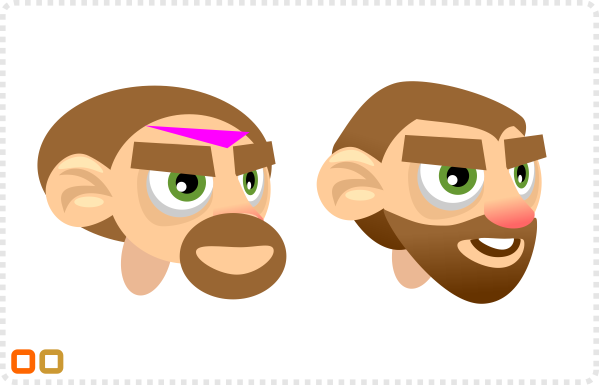
A circle at the bottom of the stack forms the base of the hair. The hairline ist created from a triangle. Another two circles at the top will make the beard.
Deform the hair and add some gradient fill to add depth.
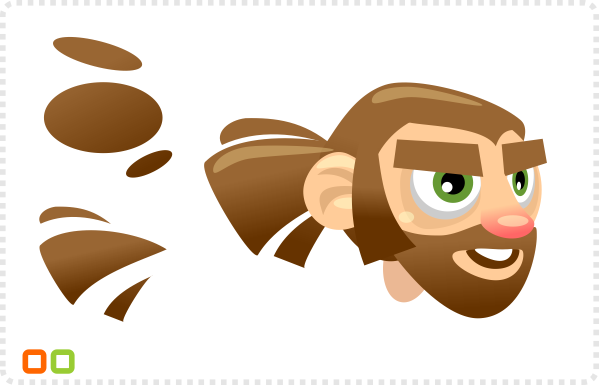
Next, two more circles make the mouth and teeth…
…and three more for a pony tail (placed behind all other shapes – Page down) along with some transparent shapes for highlights.
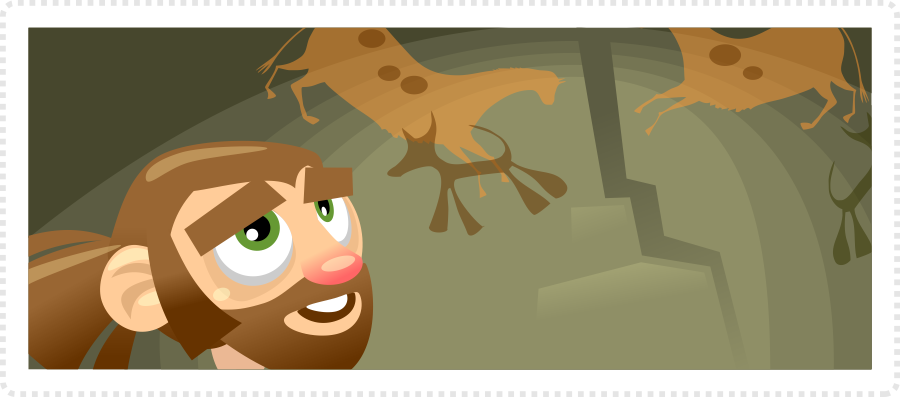

The Body and Setup
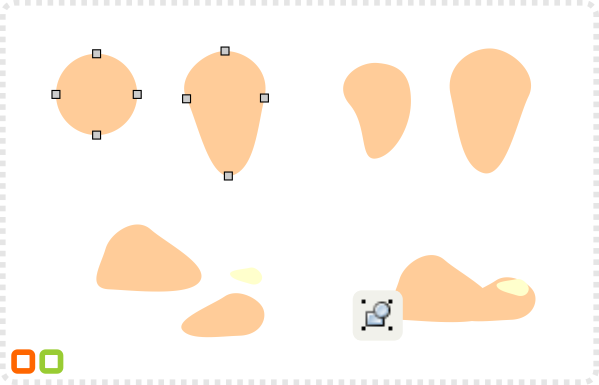
Modify another circle for the leg…
… and create a smaller duplicate for the lower leg. Create the knee by adding a bit more curve.
The feet are based on one deformed circle with two mirrored copies. Lastly, group these objects and set the pivot to the ankle.
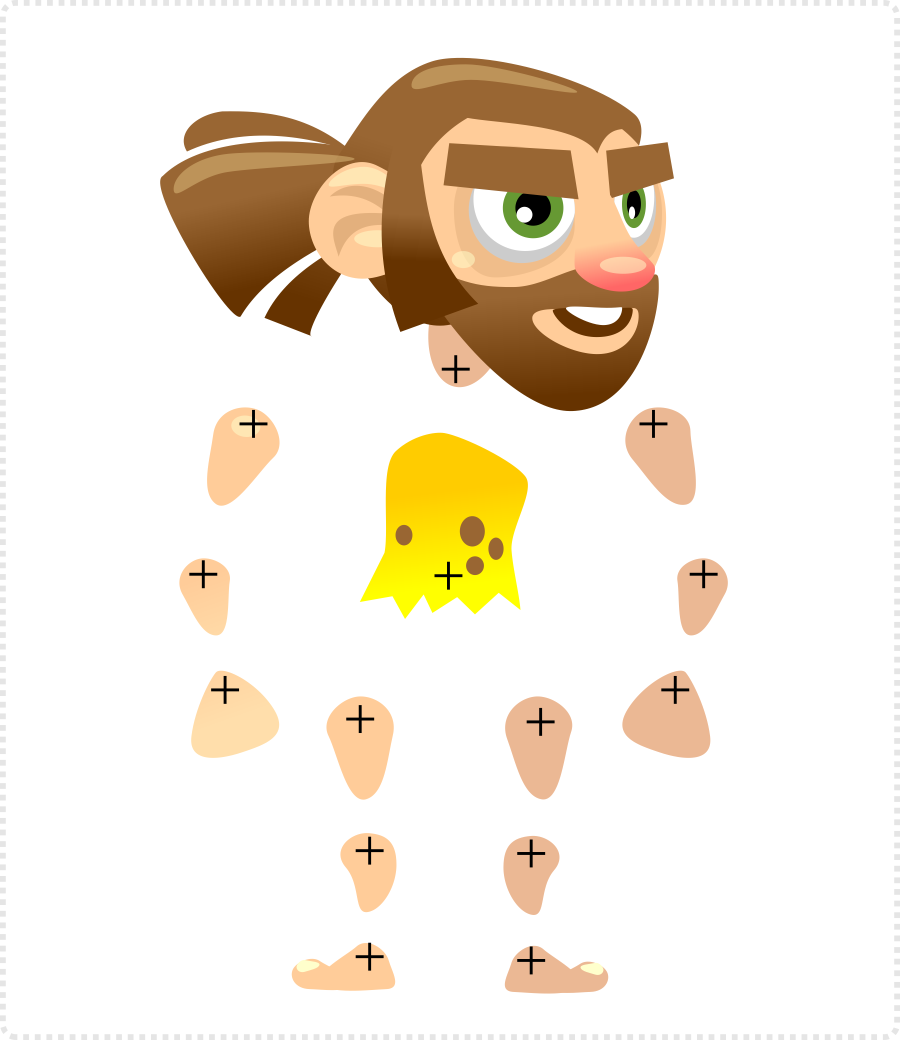
The arms and hands are just modified circles. Duplicate the limbs and darken the slightly to add some depth.
Group the head and adjust the pivot points of the separate objects and you have the basic character.
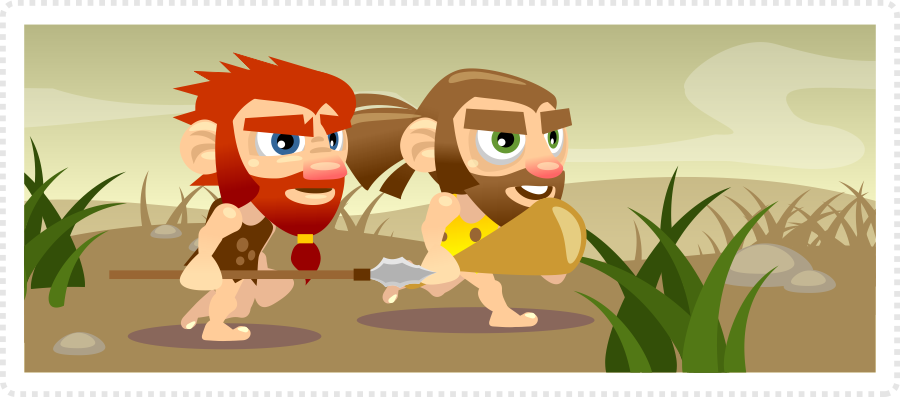
Note:
I mirrored the limbs in the image above just to show the ‘exploded’ body setup. There is no need for that when you use the elements in a side-on view [both feet should point in the same direction].

The Layers
So far we just worked on one layer. To do the ani-mations we will make use of inkscape’s layer abilities.
Creating a new stance will be a lot easier by keeping the objects on different layers and copying the changes from stance to stance as they are created.
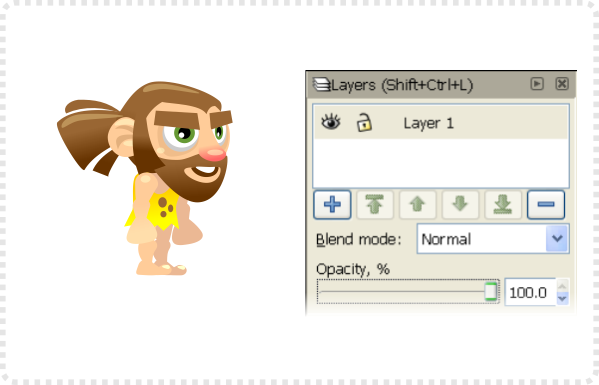
Arranging the objects in a basic stance.
Bring up the layer panel via Layer / Layers or SHIFT & CTRL & L.
Our caveman is currently on layer one – by clicking the eye icon he will ‘disappear’.
The lock icon blocks the objects on the layer from being selectable or editable.
The opacity allows adjusting a layer’s transparency.
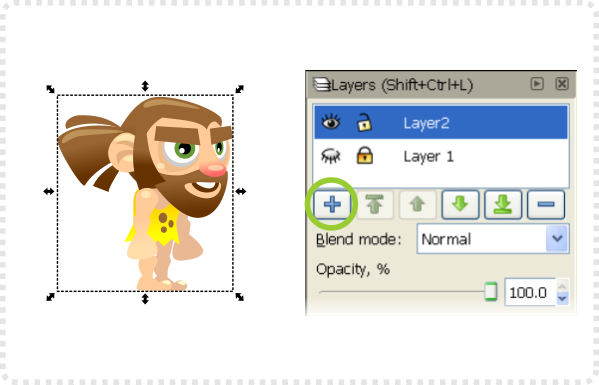
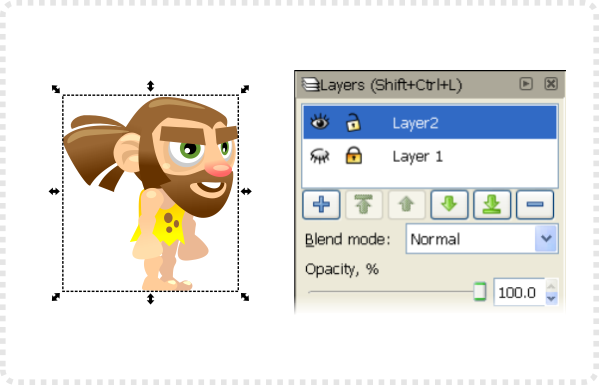
Create a new layer using the plus icon.
In the ‘Add Layer Box’ name the layer and select the ‘Above current’ option.
Click on Layer 1 in the Layers panel and select all the objects (CTRL & A) and copy them (Edit/ Copy or CTRL & C).
Select Layer 2 and paste the objects in place (Edit/ Paste in Place or CTRL & ALT & V).


The Layers (continued)
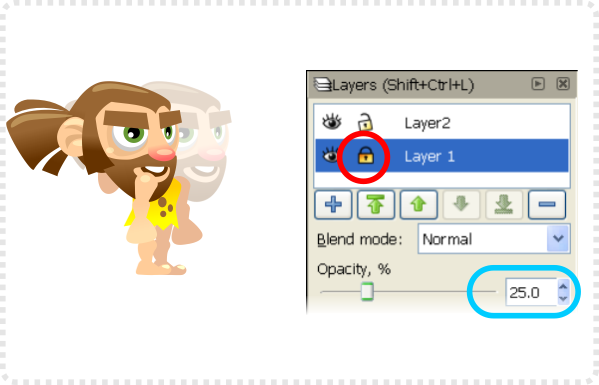
Set the opacity of the first layer down to 25% and lock the layer.
Select the Layer 2 and move an object (e.g. the head).
The layer setup allows you to work on the animation while keeping track of the past frames.
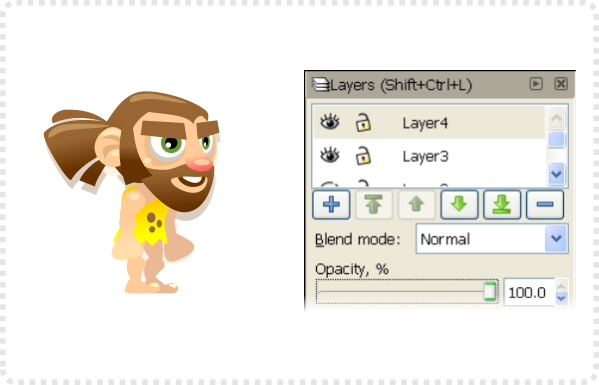
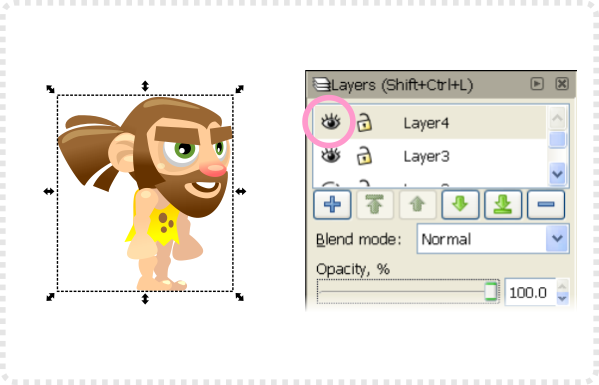
After changing a pose copy it to the next layer, lock the old one and reduce it’s opacity.
Turn the visibility of your current layer on and off to test your animation steps.
Note:
I work quite a lot with CorelDraw. As result, I appreciate the multiple page setup of CorelDraw documents. Instead of layering animations you just place them on separate pages. Flick through them to check your progress with easy.
The program even alows you export all the pages in one layered bitmap file. Idealy, keeping layers and pages separated.
Animating:
If you start out animating it’s helpful to go with some more basic animations first. There is nothing wrong with the ‘mad-kung-fu-360-tiger-meets-dragon-in-mid-air-move’ but it might be a little frustrating to start with.
Think simple and create something you can use in your game. This way you keep motivated and focused.
I test a character’s setup with a simple idle animation. Usually, followed by a walking test.
Note:
It’s always helpful to check out references. Poses, animations or colours are covered in heaps of tutorials. A lot of the reference will show you a simplyfied setup. This makes it a little easier than working off memory or your own experiences.
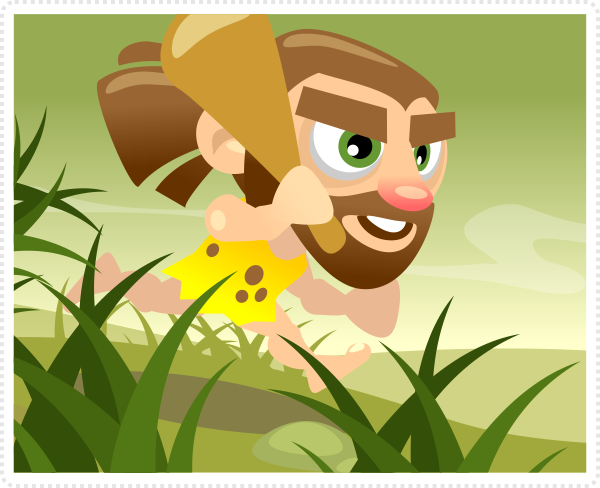
After setting up the technical side – let’s go and attack some animations front on…

The First steps
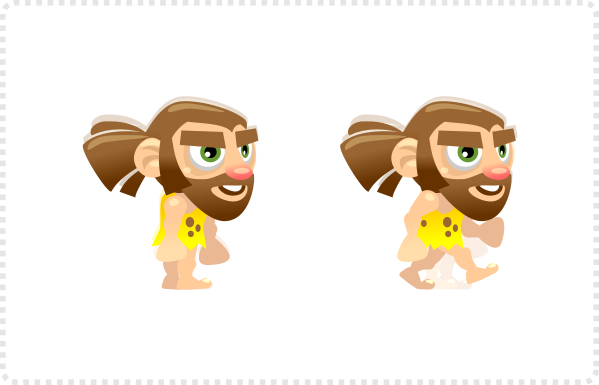
We start out walk animation with the front leg stepping down and aim for an eight frame walk cycle.
As the body is going down a little during a step move all but the feet objects down (Arrow keys).
… and start rotating the upper legs to make the step. Rotate the lower legs and move them into position
Next are the arms – start with the rotation of the upper arms and adjust the lower arms accordingly.
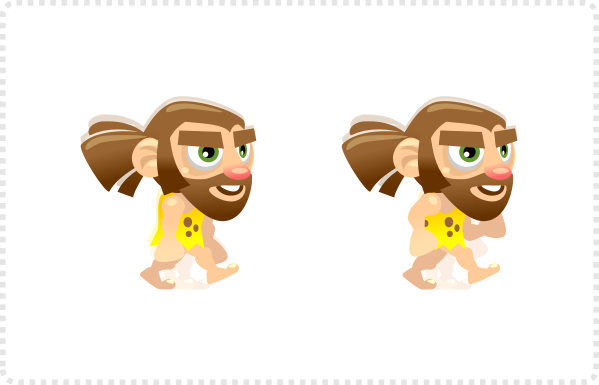
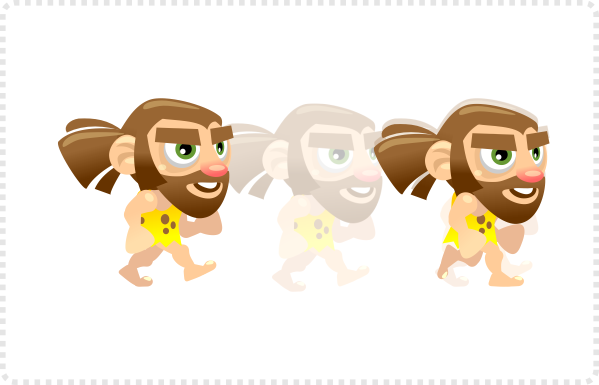
This is the start frame and also the 9th frame in the animation again as we want to make.
Copy the objects to a new layer and lock the old layer and set it’s opacity low.
After the first frame the front leg will go down. The back leg moves up while the arms swing slightly back to the centre.
the head goes down a little more (to it’s lowest point in the walk cycle). For the walk it’s essential to keep the feet level.
Again we copy the objects to a new layer and lock the old one to continue the animation on the copied elements.
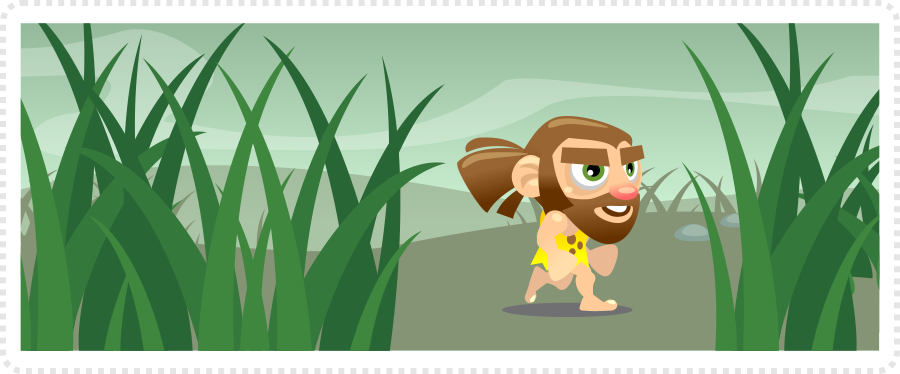

The First steps (continued)
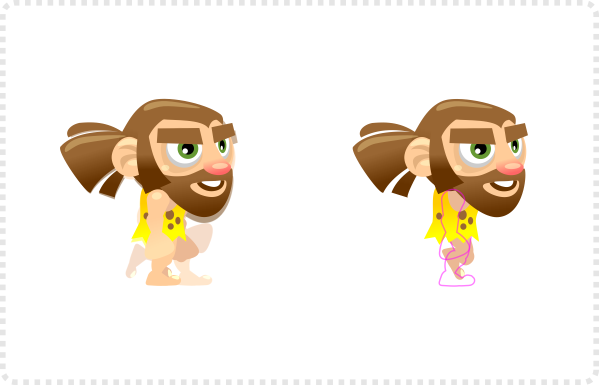
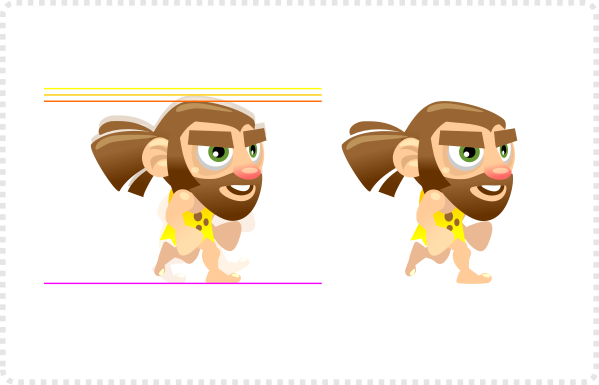
Now we move the head back up a little as the back foot moves forward and front foot moves back.
The back knee is leading the legs motion – becoming visible with the front limbs taken off.
With four frames down it’s the middle of the walk.
The next frame is similar to the first frame with ‘reversed’ arms and legs. The front arm and the back leg are now moved forward.
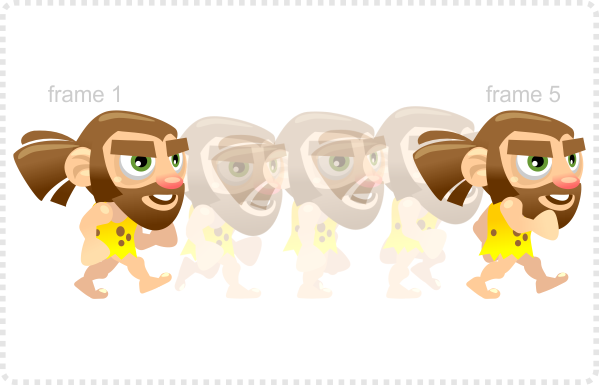

This is the start frame and also the 9th frame in the animation again as we want to make.
Copy the objects to a new layer and lock the old layer and set it’s opacity low.
After the first frame the front leg will go down. The back leg moves up while the arms swing slightly back to the centre.
Now we turn to Layer 2 as reference. Arrange the arms and legs to mirror this pose.
It’s the same with frame 7 which matches the 3rd frame.
Finally, frame 8 is the pose from frame 4 with swapped arms and legs.
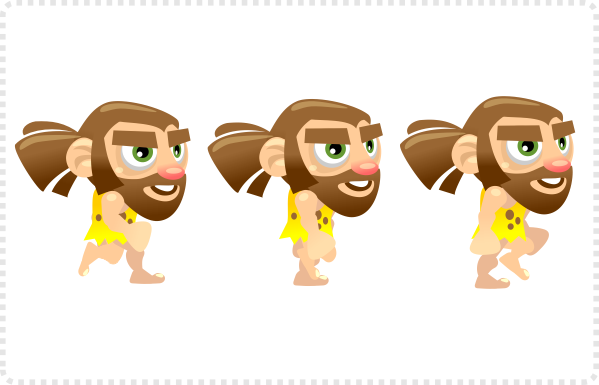
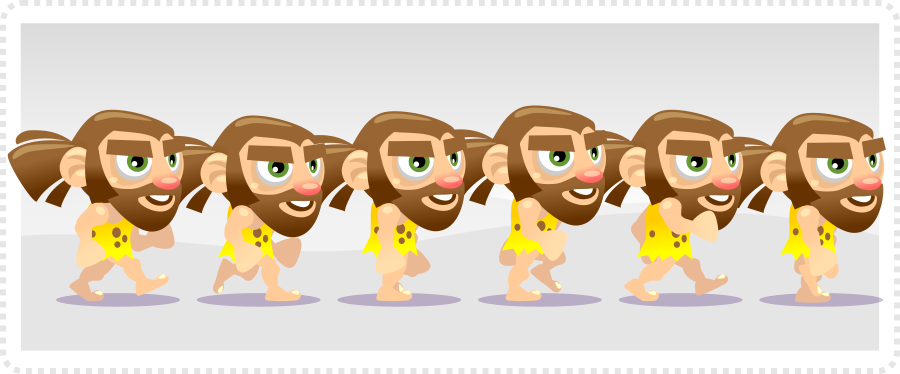
Finally, this is a scaled down version of what the walk cycle looks like:

I hope you enjoyed this addition and it gave you some ideas how to have fun with vectors.
Get the source art (svg file) of this tutorial for free!
Update:
After all that, I have to admit that this tutorial was fun, I still like it but it’s obsolete as far as the animation goes. In the years since this tutorial was written a lot has happened in 2D animations for games. With tools like spine, spriter, dragonbones (just to name a few) as well as the ability to animate right in the game engines of e.g. Krita or Unity, it makes very little sense to go through the pains of animating straight in Inkscape. Exporting the parts to separate pngs and taking them into the animation tool of your choice is the smarter way.)





como baixa mano
Thank you very much.
I've been following your work since it appeared on HN, and I'm loving it.
I'm not able to play with inkscape and do some stuff that I never thought I would be able to.
Thank you very much!
Tiago
Thanks so much for your tutorials. I'm finding them very helpful.
I'm an indie game developer, and hoping to upgrade my sprite skills.
The next Ludum Dare (48 hour game dev contest) is only 1 month away. I have programming skills covered, but need to learn music and graphics. Going to be a challenge for sure. I'm doing the free ml-class.org (machine learning) in my spare time too.
Good luck with the Ludum Dare – I was part of a team in one not too long ago… it was a fun and somewhat mad experience…
Thanks a lot for your tutorials. I'm learning a lot from them! Astonishing how creative you are with simple shapes! Kudos to you!
I am looking forward to more underwater sprites (shark, octopus, diver) – there is this urge for years now to try a remake of Scuba Dive from Durrell (good old Speccy times) :-)
Cheers and please proceed with your tutorials,
Thomas
I believe you are making a great work giving us programmers good techniques to use when making our graphical assets.
Inspired in your blog posts I wrote my own how to make buttons using inkscape basic tutorials.
I hope I could keep learning from your stuff and share my improvements.
Thanks for your all your work.
Recently I was doing some research on animation because I found myself unable to create manually this "tweening", as you called it.
Anyway I found that free soft called Synfig that is able to do that for me. On their official website there is also plugin for Inkscape that allows to export previously created vector graphics. This tool was designed for Linux, but there is version for Win that I'm using. I can't say anything about Linux version, but this one for Win is… well lets just say it's not the highest standard. UI design is very poor, performance even worse, but it will do the job.
So if you lack some skill this soft will help you for free (that is one of the pros) and the results will be not that bad.
Hi, I really like your tutorials. I just wanna ask you how to make game characters with outline? Thanks in advance!
awesome blog! thank you so much! keep up the great work
I can't get enough. I always fancied creating some nice clean 2d art but wasn't able to to find the right tools let alone be taught on how to use them to there full potential, and for that – I thank you.
You've brought out the artist out of me again after 22 years.
I'm really looking forward to your next tutorial.
Regards and I owe you one ;-)
I rarely cmt but this truly make me crazy, thanks and more tutorial, please!
Você tem que pagar 3 Dollares, clicando no botão "buy now".
Hi Chris,
Thank you for your wonderful tutorials. I am self learning for the past 1 yr to become an indie game designer and have been always lacking on the art side. Finding inkscape and your tutorial had guided me a new path and determination to carry on with my decision. Thanks!
I love you! Seriously, you guys saved my life!
This comment has been removed by a blog administrator.
Sir, I really appreciate you going out of your way to make these awesome tutorials. I really appreciate it.
o preço agora é 5 obamas
Hey Chris, do you know where can I find more basic animations tutorials, like idle, jump, crouch, fall that would fit this kind of art?
Awesome post!
The whole matter has been presented so well and in such an awesome way.
Good job!
Love your tutorials. One question about this particular tutorial here about the caveman is, related to copying and pasting the image to another layer. When I do that, the pasted object is of a lower resolution and definitely not a vector graphic. Hoping to get some help around this…
Wow, i can't believe i made a character by myself. I always suck at art but with the help of this uber awesome blog, I managed to create my very own character. Thank you so much. On another note, can you make a tutorial for suits or tuxedos? I really struggled a lot creating suits. Thanks again. : )
Use the same techniques from the above tutorial, and just look at the animations from any games that you own
wow me gusta tu trabajo
How did you angle the eyebrows?
They are a deformed rectangle – convert to path and the move the top nodes.
Thanks a lot man !
I've learned a lot studing your tutorials. I'm very bad for draw/sketching… but in Inkscape the things come a little easy for me!
Thanks for taking the time to write this !
I recently made this simple Onionskin plugin for Inkscape to make animation a little less work.
https://github.com/lingo/inkscape_onionskin
Thanks… I will check it out.
:D
Which software are you using to draw these? , thanks and keep up with the tutorials i like them.
I use Inkscape for my tutorials but also work in CorelDraw and Illustrator [depending on the task at hand].
can i use characters made by this program in RPG maker vx ace ?? are they compatible?
I don't know RPG maker vx ace… but I guess it uses either .png or .gif files for the assets. So YES… you can create the art in inkscape and then export to the art format your RPG maker needs.
You might want to add a bitmap tool [like gimp or photoshop] into your pipeline to do the scaling in a more comfortable way with better controls and output.
Hey guys, one question not so related to this post, but anyway, does anyone know if any sprite sheets exists for this cute little penguin which I reallllyyy need for this game Im making
https://1.bp.blogspot.com/-Ds_clFuuG4U/UezjiUtxH2I/AAAAAAAABhk/YK8p3lPXcmg/s1600/Blog_banner_2a.jpg
Thanks in advance
The penguin at this stage is just a quick illustration. What would you need him to do? Please shoot me an email. :)
I want to buy your cavemen and discuss about my game.
Please contact me.
mygoldvest@gmail.com
I need a cavemen that can walk, run, jump, ride I want to buy the character and I need you for my long term development. Please contact me.
Hi, in Inkscape you can export layers as .png images contained in a zip file. After that you have prepared the layers, it's enough to go to:
File►Save as.. and select the format "JessyInk zipped pdf or png output (*.zip)".
After that you can give the dpi size of the images and the game is done!
You obtained a zip file containing a number of .png images. They are the images of each layer you defined.
2D animation creates movement in a two-dimensional artistic space. Work in the field of 2D animation requires both creativity and technological skills.
Excellent tutorial! I used this to create and animate a grumpy old man and I think he turned out pretty good. :)
I have a question, though. I've been trying to make a cat character and I've found it's a pain to animate their four-legged walk. Can I use this separated limbs technique to animate a cat? ( And is there any chance of you making an animal tutorial? :D )
Sure…you use the same technique for 4 legged animations. Separate the legs into upper and lower limb and maybe even separate paws for the cat to make the walk even 'smoother'.
I hope to finish the tutorial I started a while back – so yes… there will be an animation tutorial with 4 legged walk coming soon.
Thank you for your reply!
Looking forward to seeing your next tutorials (and trying your suggestions).
Keep up the great work, teaching us to create amazing things! :)
каком программе работаете на этом уроке скажите пожалоста
Hi Aidar, you could have made it a little easier and asked in English – hoping google translate did a proper job the answer is 'inkscape' a free vector design tool. Occasionaly I use gimp for bitmap tasks as well.
[it's also mentioned in the title banner of the blog btw.]
Great Work ..
Hi Chris,
Great tutorial, Thanks a lot :)
Can you please tell how can we create sprite sheet which can be used in Unity5. I am making my first game and have been searching for this for couple of weeks now.
Thanks dude your the best
Thank you chris for making these awesome tutorial.
Hi , Admin Thanks You So much
i have just one question Please what the name of the programe u using to draw this ?
https://s22.postimg.org/5wvp3rs5t/tutorial_sample11.jpg