


Game character creation
Inkscape tutorial
Let’s get started on a simple 2D character. There are a lot of resources and tutorial out there on character creation and animation. Most of then written by and for artists and animators. Let’s go with a simpler approach. I will try and break in down to basic elements and easy to follow steps.
Some of the techniques used in this tutorial have been covered in the earlier post. They should help you work your way through this tutorial which is a little bit more complex.

The Basics

Something similar to this can be found when searching online for examples of ‘2D character animation’. A simplified body shows the head, body, and limbs moving through an animation cycle (e.g. a walk). Translating these examples to an actual game character is the tricky part.

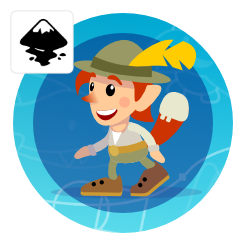
Let’s take the character and split it up into its parts. It’s made up of the head, the body, the upper and lower arms, hands, the upper and lower legs and finally the feet.
The Examples

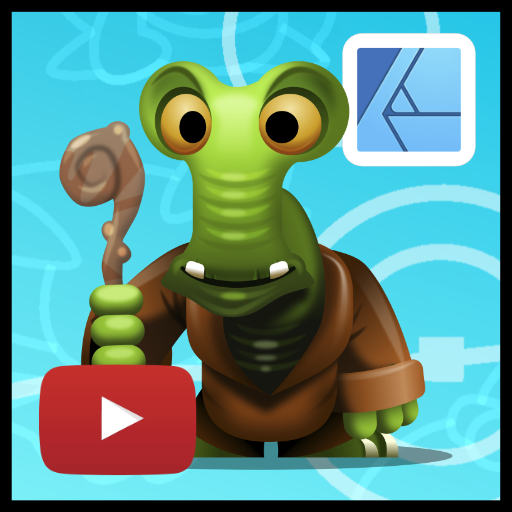
The same elements (with the addition of a neck and a set of wings) make up this little fairy character.

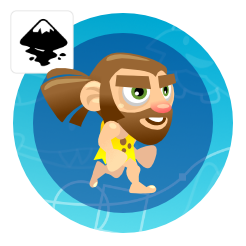
This nude version of a famous plumber…

or this ninja character…

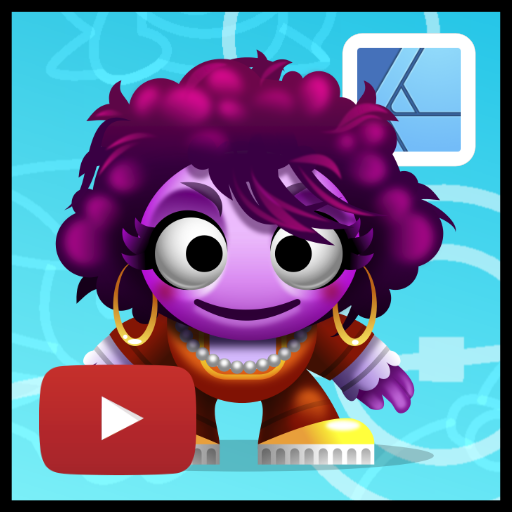
… or this little game character created for a mobile phone game template is based on the same principle of separated limbs.
Joining the upper and lower parts of limbs reduces the character to even fewer parts.
The Proportions
While creating your character keep the available space and proportions in mind to make sure the character fits the ingame needs.

The actual size inside the game is the starting point for creating your game character.
The height and width available determine the character’s proportions and the level of detail.
Thin and long limbs and a high level of detail might look good in the vector illustration but can cause problems when taking it to a small size bitmap image.
Creating and animating a character with a lot of detail Takes up more time. Make sure it’s visible.


Let’s start…

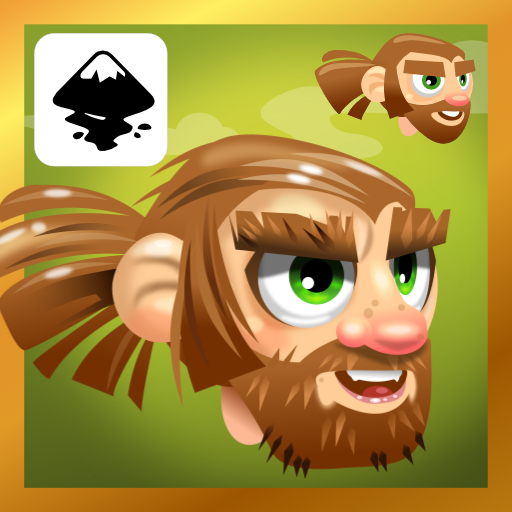
Getting started

Start with some circles.
Convert the nose to a path and modify the nodes to form a nose shape. Create a gradient fill to make the nose stand out and add some more circles. Shape the eyebrows convert the head to a path [SHIFT & CTRL & C] and shape it to form a chin.
Add two more circles for a hat modify the nodes of the top one to connect.
Add another circle and a square for some decoration.
Modify the circle to form the base for a feather. Use the straight lines tool to create some triangles.


Use the Path/ Difference command to ‘cut’ them Select the hat elements and rotate them a little.
Add some more circles for a neck hair and an ear. Lower and raise objects [Page Up & Page Down] to place the hair and ear below the hat.

The Body

The body is made up of a modified circle. A duplicate is combined via (Path/ Intersection) with the darker circle for the pants.
Add a rectangle for the belt, a circle and a triangle for the shirt. Convert the rectangle to a path [SHIFT & CTRL & C] and shape it to form the belt.
The arms are made up of two more circles and a rectangle with rounded corners.
Modify the nodes after converting the objects to paths. Add duplicates and darken the colours just a little.


Start with another circle, convert it to a path and modify it to form the shoe.
A duplicate of the shape functions as the sole and two circles add a little detail to the shoe.
Add a duplicate of the curved arm object for the leg. Group it and create a duplicate of the group.
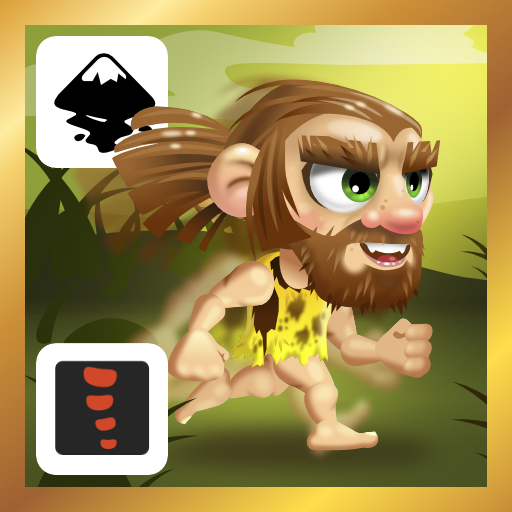
The Setup

Assemble the objects and lower and raise them (Page Up & Page Down) to layer properly. Arrange the back arm and leg at the bottom of the stack and the front arm at the top.
Note:
Make it easier to animate the character later. Group elements and assign pivot points in better positions is really helpful. Turning e.g. an arm at its centre makes little sense. Move the pivot to turn it at the shoulder. Make logical groups. In order to do that, select objects that ‘belong’ together, group them and move the pivot point of the group to the matching joint.

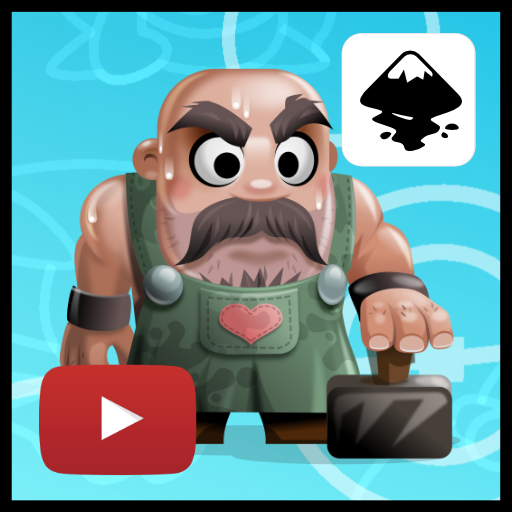
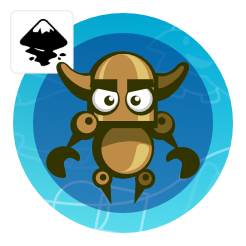
The hat for example turns into a helmet…
Add some circles to form a shield…
A spear made up of four modified circles turns the character into a guard or knight.

Group the shoe objects and set the pivot to the ankle. Continue with the other parts and adjust the pivots to be in ‘joint places’.
Afterwards move the groups and rotate them into place.
Note:
Some vector programs (e.g. Corel Draw) allow group hierarchies. You can group the shoe group to the leg and move them together, then STRG & Click the shoe group and then rotate the shoe in the new position.
The Variations


Now it’s time to change the pivot points in order to rotate the body parts properly.
Select the body
objects. Group them and double click to get to the pivot point. Move the cross marking it down to the hip area.
Do the same with the arms. After changing the pivot point for the hand group the arm and change the group’s pivot point.
A different colour for the shoe and two squares forming the buckle are combined by difference.
A long rectangle with rounded corners and a few circles form a scepter for the king.
His crown is made up of the band of the hat and the shrunk top of the head – duplicated and coloured.


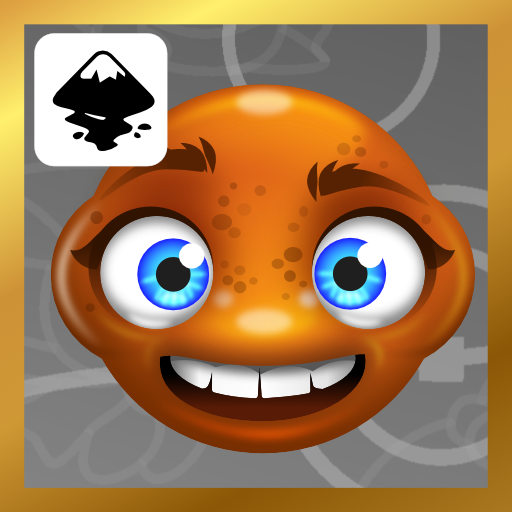
Silhouettes are another quick modification once a character is set up. A new set of eyes and some decoration complete this transformation.

A change in brightness and colouring can easily change the look and feel. In this case, it’s a shift towards yellow as well as some desaturation.
I hope you enjoyed the tutorial so far. Have fun with vectors and stay tuned for the next post ‘Taking on animation in Inkscape’.
Get the source art (svg, pdf, affinity designer and coreldraw file) of this tutorial for free!
(only includes the main character created in the tutorial plus the ‘king scene’)


Simply awesome! Thank you! :)
I can't express how helpful these tutorials are to me.
Never thought I could learn to draw like this, much less following a tutorial in two weeks.
Thank you very much!
Great tutorial Chris!
It's good to know how to create a character… And it would be great to know a handy way to create actual animations.
You described a handy technique to create different states of a character. Could you please suggest a way to animate these states while drawing them to see the final animation? (as far as I know programs such as Photoshop have frames in order to do it)
Thank you a lot,
Grigoriy
Do you have any links to some "full" animation reference sheets for a 2D platformer?
Something like this:
https://2dblockbuddies.blogspot.com/p/blockbuddies.html
[the dummy is free and can be used for protyping or your commercial game]
@Grigoriy – sadly photoshop does not… you can do layers in photoshop but not frames or a timeline like Adobe Flash or ToonBoom… I found testing them in a rapid prototyping enviroment such as Construct2 to be really quick and easy.
you really rock! thanks!
Neat! I am hoping to be pro at this by the end of my first semester. I just enrolled at Santa Fe University to get my degree in graphic design. Thanks for sharing!
@Chris: Like you use Inkscape & Gimp as free software replacements to Illustrator & Photoshop, for 2d vector animation suites like Flash there's Synfig Studio (www.synfig.org) in the free sofware world; perhaps you knew about it already. It can export animations to formats like sprite sheets, plain pngs, etc. How about a skeletal animation tutorial in that? (something on the lines of https://wiki.synfig.org/wiki/Doc:Cut-out_Animation)?
Btw, I can thank you enough for what you're doing through these tutorials. I'm starting to get back hope that even I can do graphics art work for my indie games, I'll try it this weekend :) Thanks a lot man!
As the others have stated… i have done small stuff with inkscape, but its great to watch the characters come to life as you move their parts around. I NEVER knew about the pivot points either!! What a life saver!!
Also, many people think it would be really hard and tedious to create a whole cast of characters for a game, but as you point out, making some small modifications goes a LONG way to making each one look unique.
So glad I stumbled upon your site. Keep it up!
-Adam
Thanks for the tuts and your site, which is awesome plus I notice you use open source tools for drawing like Inkscape and Gimp which are my all time favorite to do such a great job :)
This comment has been removed by a blog administrator.
what software did you use?
I am using Inkscape for all these tutorials as it's a free tool (most other vector tools work in a similar way (some options and tools might have different name though)).
You can download inkscape here:
https://inkscape.org/download/
How did you make the mouth?
Anyway, epic job you did on this ^^
Thanks a lot. This is awesome, you helped me a lot.
Thanks again :)
Just desire to say your article is as surprising. The clarity in your post is simply excellent and i could assume you’re an expert on this subject.2d animation studios
Super!!!
Thanks A LOT!!
Thanks for the engineer friendly overview!
This is a great tutorial, but I would like to see the same character from a front view.
Thanks for the awesome tutorial. I'm waiting to get into 2d game art and I have no idea where to start. Your site is giving me a few pointers on things to do start doing first and the general idea of how to approach more complex game art. Thanks.
Just Just Just Just amazing I cant even express how helpfull this tutorials are for me . I am a unity3d developer never worked with illustrator /inkscape like tools your tutorials are very helpful to me . Let me know if you want any help in unity3d for any 2d or 3d game .
These really are great.
But I'm still getting extremely frustrated when all my attempts end up looking slightly retarded.
Thanks very much.
Can tell me What software you use to draw character?
For the tutorialI use Inkscape as it's free. I also work with CorelDraw for game projects and use my ipad with SketchBook for doodles and concepts.
Thank u very much for your great tutorial. After searching dozens of tutorial I found your tutorial easiest to follow.but all your characters are in 3/4 view.I agree this view is most used in 2d game but I wish if I could see a front view character tutorial. Anyway great tutorial.keep it up.
Wow i like to watch the cartoon kinds of the move and also the cartoon. but the more wondering of today is the cartoon games.
software name please
@karan – the title might give it away… but let's spell it out: I use inkscape [and some gimp every now and then] for my tutorials.
I am a beginner and hobbyist and I found your blogs to be very good source of learning inkscape arts. I like cartoon network and POGO :P very much.
In Loony Tunes there is a character 'Tasmanian Devil' which rotates very fast and creates tornado kind of effect. Can you please teach us to make simple version of it. I would love it :) thanks
@Chris Hildrenbrand
I am fan of your tutorials.
In your time, can you please do a tutorial on art on creating tornado art?
Does inkscape not allow parent/child or group hierarchies…would love to be able to pivot the shoulder and have the forearm and hand follow as children…
The latest version does. I am not sure if it did back when I wrote the tutorial. I am pretty sure it didn't as I would have mentioned it.
You can set the pivot for e.g. the hand, group it to the lower arm, set the pivot for the group and group it to the upper arm and the whole arm to the shoulder.
Correction: Just doing the posing for the robot in the complete game art tutorial series I noticed that you can group but Inkscape does not work with groups within groups.
These graphics are SVG right. Glad to know so i can import to create infographics with creately , the tool used for creating infographics .
Superb ! Awesome ! I am really very impressed .
If you love gaming for unity games kindly visit….
Unity game templates
Wow!!! Great tutorial thanks!!!!
These graphics are based on purely SVG which is good. This tool is being used by many mobile game programmers to create the best 2D type games apps.
Michael is an animator with extensive experience in video games, TV Commercials and Feature films, including VFX blockbusters like Guardians of the Galaxy 2.lego star wars minifigures
thanks for those clear tutorials
NO
hi