Making the Rings of Saturn
Inkscape Tutorial
Let’s have some fun with a simple and quick tutorial on how the achieve the rings of Saturn in Inkscape. The urge to write the tutorial (and have some fun) wins. I rather treat myself to a quick tutorial than reply to a backlog of emails. Sadly, that will have to happen later. For now, we look at the stars and do a planet in Inkscape. Not just any planet but the most interesting one visually – Saturn.

Getting started…
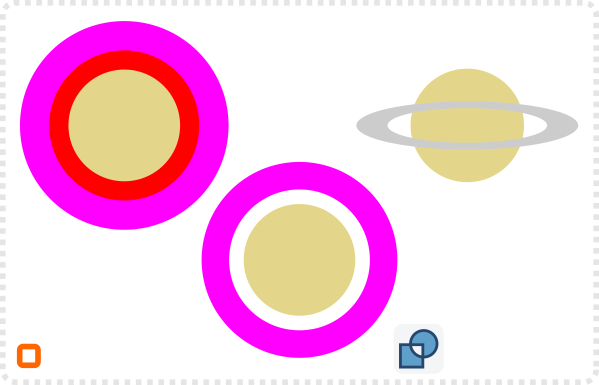
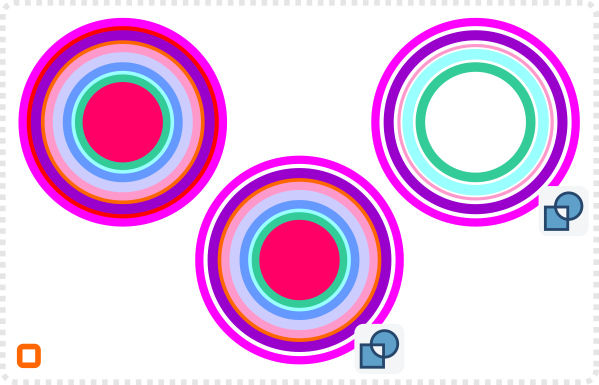
Let’s start with three circle…
Select the two biggest circles and combine them with a Path/ Exclusion (CTRL+^).
Scale down the ring’s height to get a ‘perspective view’ on the ring.
Duplicate the circle for the planet and convert it to a path.
Bring up the lower node of the duplicate and adjust the nodes on the side (making them corners first) to avoid any overlap with the lower part of the ring while keeping the upper part unchanged.
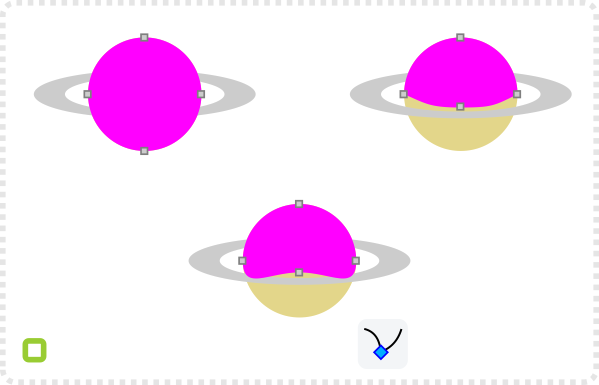
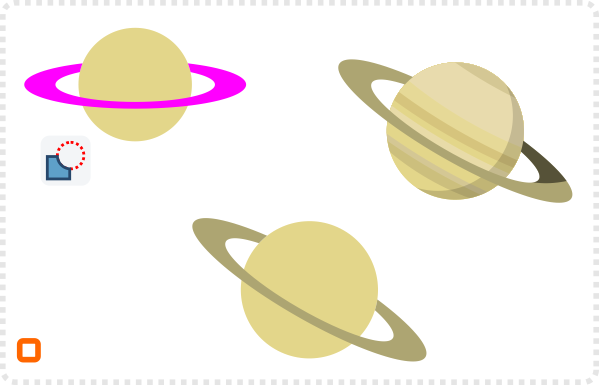
Select the modified shape and then the ring and combine them with a Path/Difference (CTRL+-).
You might have to bring the ring to the front (Page Up) to be on top of the planet.
Add another few circles to the planet and a shadow on the ring and we get our basic Saturn shape planet.

Adding More Detail
Next up, the same thing with more elaborate rings. Let’s face it, it’s the same thing. You just take the intial (‘unsquashed’ ring) and make it more complex by combining several rings of increasing sizes into one object.
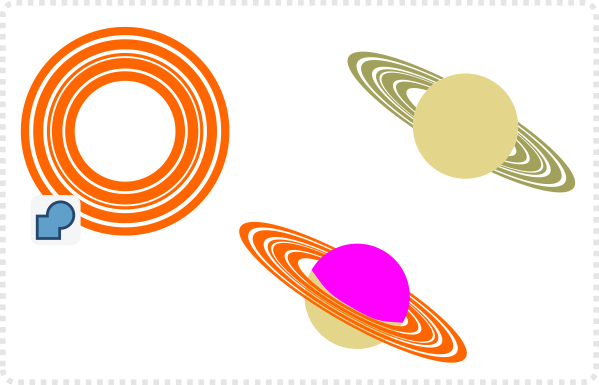
Let’s do this again with a more complex ring and a bunch of circles.
Starting from the outside in select two circles and combine them to a ring until you end up with a bunch progressively smaller rings.
Combine those rings with a Path/Union (CTRL++) bring the planet in position, scale the ring and create the duplicate shape.
Combine the modified planet shape with the ring via the Path/Difference (CTRL+-).
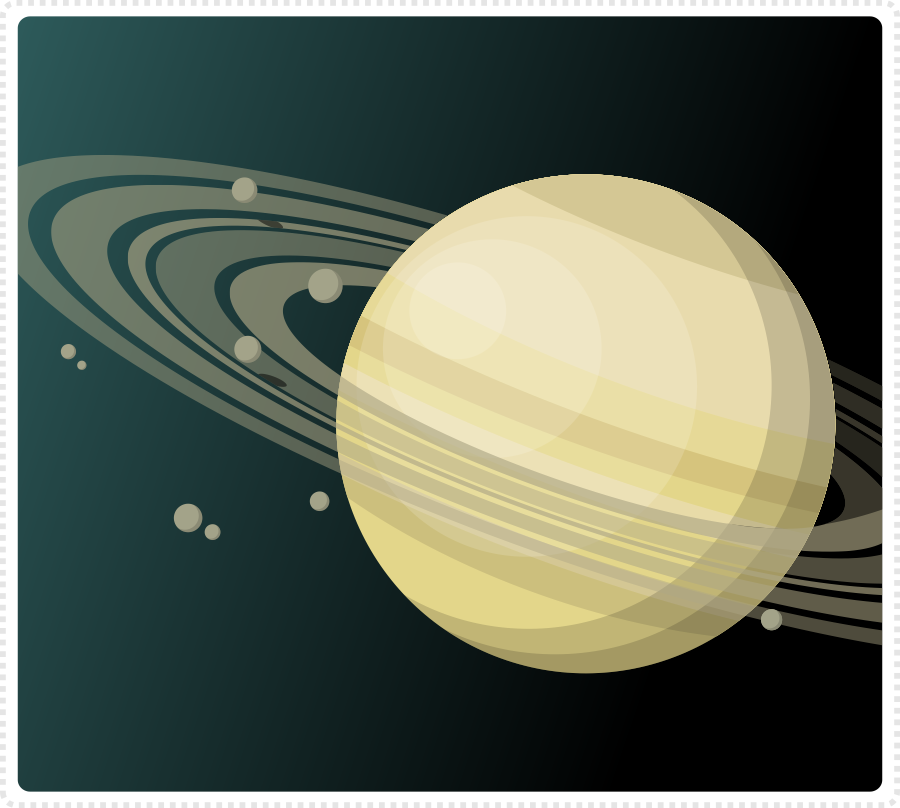
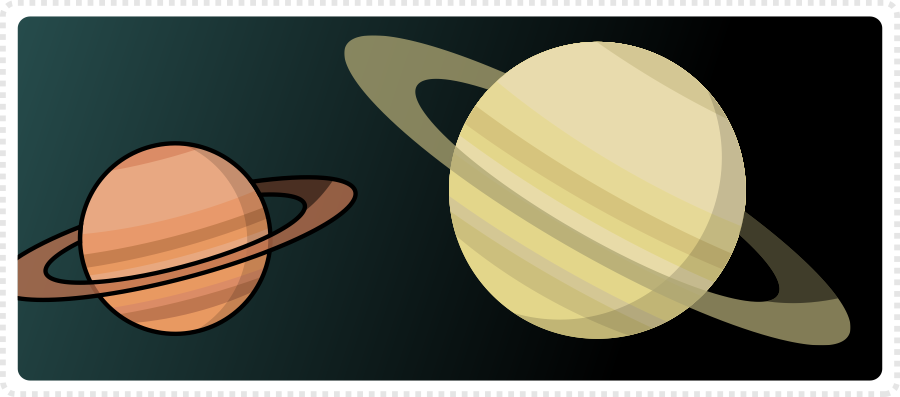
Ultimately, you can add a more realistic look by adding a circular gradient and more detail patterns to the planet. Breaking the rings apart (Path/Break Apart (SHIFT+CTRL+K)) allows you to assign different colours to different rings and vary the opacity to the rings. Finally, I added some small objects and their shadows on the rings for a bit of detail.
I hope you enjoyed this as much as I did. Give it a try… As usual, it’s a lot easier than it looks once you worked out how to do it.




Nice tutorial! Thank you!
Can you give me your E-Mail?
yes… I can…
c(dot)hildenbrand(at)gmail(dot)com
I just discovered your blog and I just want to thank you for all the work you did. As a game developer making my own graphics I know I will learn a lot with all your posts and examples. I'm a very late adopter of Inkscape and I really found of it. Thank you again !!
Thank you so much for doing what you are doing. I've been searching for a site like this for a long time. Your artwork is awesome.
First I eant to say your tutorials are great! Thank you. I also have a question with inkscape. I design art for gamesalad and i was wondering how you make the background of your art transparent. Thanks
Thanks for the nice tutorial.
I tried to explain it here:
https://2dgameartforprogrammers.blogspot.com/2012/02/working-with-bitmap-output-in-mind.html
Basically it's a combination of EXPORTING TO BITMAP as a .png file and saving as SELECTION with the frame (if you use one e.g. to keep sizes consistent)having no fill colour.
isn't that SVG for sale, i working on a space ship games, and will be a good start for the backgrounds
Hi,
I'm a real noob when it comes to this program and graphics in general. I got as far as duplicating and converting it to a path. My problem is I only see three of those handles to resize with and I cannot for the life of me manipulate it with just the three handles. (Wish I could post a pic to explain better).
Love the tutorial! Totally new to Inkscape so this has been really helpful.
Quick question – how do you create the shading/different coloured lines across the planet?
I usually pick a darker and a lighter colour and use a the opacity / alpha to control the level of shading. Try to stay away from pure white and black for shading. Adding a colour to the shader element makes it a lot more vibrant and lively. Black and white as shaders tend to make it dirty or pale.
This quick tutorial might be helpful:
https://www.2dgameartguru.com/2013/06/choosing-your-highlight-and-shader.html