


Creating a simple Torn and Blown Effect
Affinity Designer Video Tutorial
In this video tutorial, I will be creating a simple Torn and Blown effect in Affinity Designer. The effect looks elaborate and complex but is created with just a few lines, adjusted pressure curves, and an altered layer blend mode.

Tools used to create the torn and blow effect
This video tutorial is based on tapered strokes. I used the pressure curve in the stroke panel to create a few types of strokes. They range from plain tapered to erratic curves. I pulled the curve right down to create gaps in the stroke. The earlier tutorial on creating coffee stains is a good example to show the power of the pressure curves.
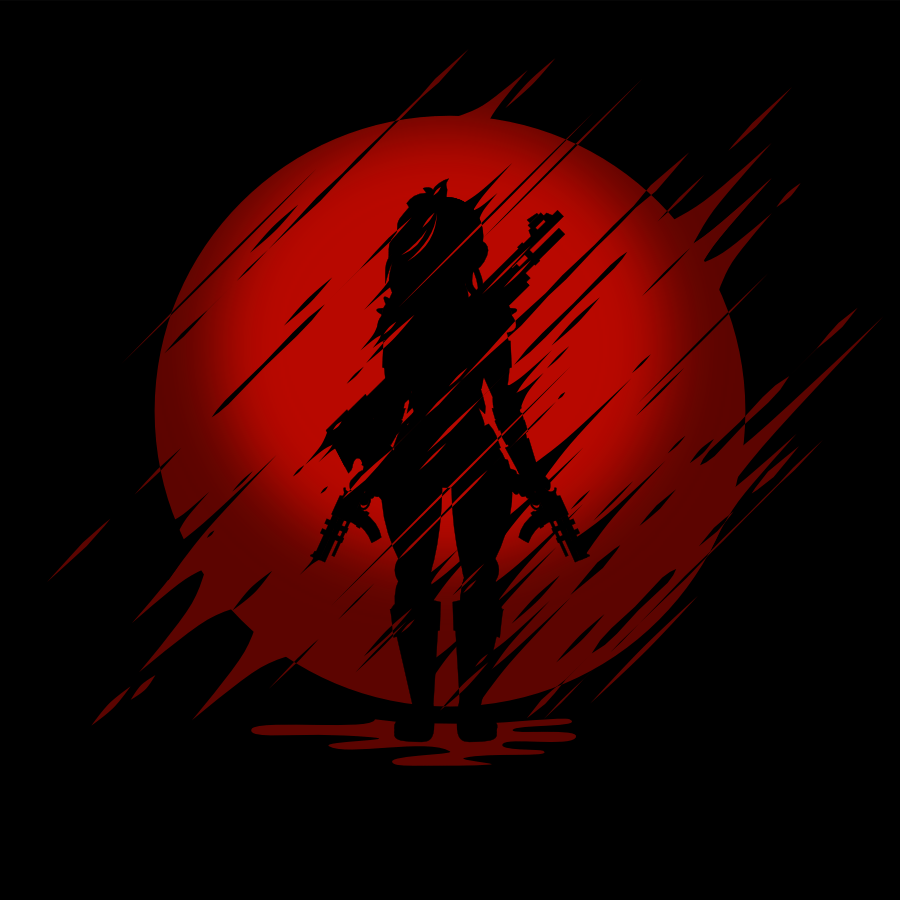
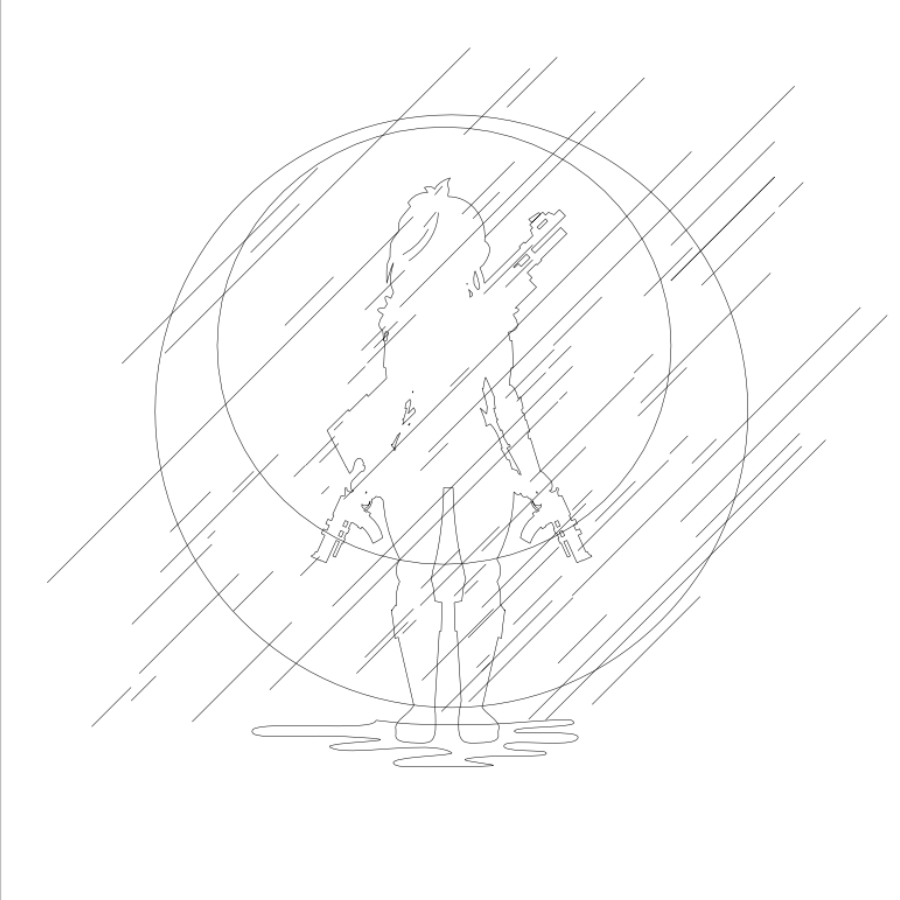
The before and after images show the simplicity of the effect.


The advantage of using ‘normal’ strokes rather than vector brushes for the effect is the ability to edit. Vector brushes would introduce a bitmap object to the design. Expanding the strokes would no longer be possible. The current setup allows me to combine the whole design into one curve. This curve could be used to export to cutting tools, used for screen print, or exported in ‘plainer’ file formats like SVG or EPS.
I hope you enjoyed this video tutorial on creating a simple torn and blown effect in Affinity Designer. Please subscribe to my channel, like this video, and leave a comment below. Let me know what you would like to see on this blog and the video channel. Have fun with Affinity Designer, explore, play, and create your own awesome art!
A quick Addition: Using the blend mode Difference comes with an issue when using it for e.g. t-shirt designs. In order for Difference to work, it needs to have a colour underneath it and not all colour combinations work the same. But there is a way around it. The blend mode is used very much like the Boolean Xor [in this tutorial]. You can expand all the strokes and combine them with the design to create one curve.

Seeing the strokes in this tutorial are all solids [no vector brushes – which are bitmap images and can’t be expanded at this stage], you can expand them. Select all the ‘stroke shapes’ and use the Boolean Xor or create a compound and set all the new shapes to Xor in there. Good luck! I would love to see some cool t-shirt creations. ;)


