Paper Cutout Effect
Affinity Designer Video Tutorial
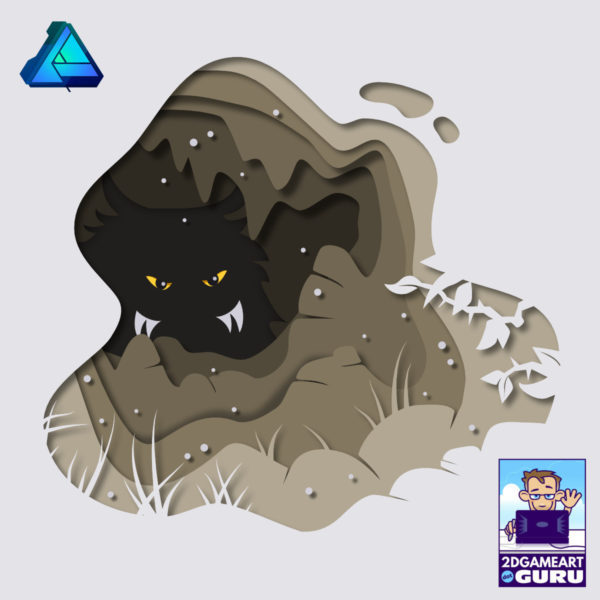
Easily create paper cutout effects. This tutorial is another request from a social media site. As requested, the tutorial is done in Affinity Designer. It can be easily recreated in Inkscape, CorelDraw or AdobeIllustrator though. Ultimately, the ease of inner and outer shadows made me use Affinity Designer. The tool allows shapes tobe adjusted. All while the effects have already added to them. Honestly, I did quite enjoy the ease of Affinity Designer.
The key to good looking cut out scenes is the scene/ object. Make sure the design has enough layers to make the depth look good. Google images is your friend. Search for ideas, samples, and references. The most common scenario would probably be maps and canyons. Creating valeys and mountains with nicely grounded shapes. These would represent height lines in the maps. Another nice design could be the view into a pond. Try water lilies, fish on different layers. The colours go darker as you look deeper into the pond.
Note:
Playing with the angle, distance and intensity settings is easy. Adjust the values to get the look you are after. Making the shadows to be stronger on the top right side by changing the angle closer to 225 degrees.
I hope this tutorial video was helpful and inspiring. A few more short videos on Affinity Designer will follow in the coming weeks.







Another stellar tutorial!
Excellent job Chris! You make love Inkscape!