Create and Shade a Flower Pot
Affinity Designer Tutorial
This was a requested tutorial from a social media site – how to create and shade a flower pot to be more than just a square shape. The idea is working with a bit of perspective. Showing the round shape of the object and adjusting the shading accordingly.
I wrote a general tutorial on simple shading a while back. It might be helpful to check it out as well.
Let’s get started

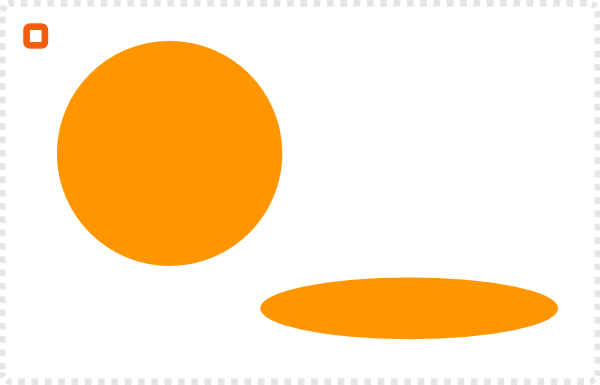
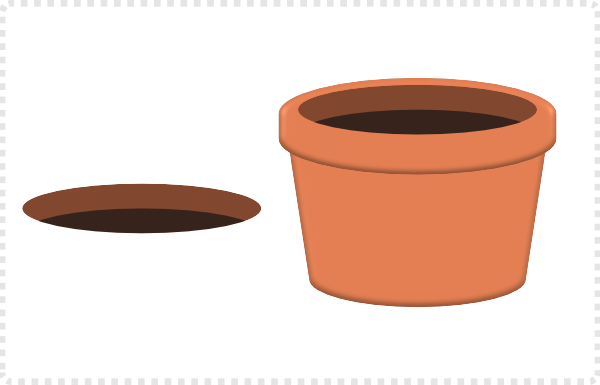
Start with a circle and deform to an ellipse.
Note:
This base circle defines your perspective. Keep a spare as reference as all other parts will derieve from it.
To form the pot’s shape duplicate the base and scale it up.
Note:
Keep the proportions the scale when scale by holding SHIFT + CTRL.
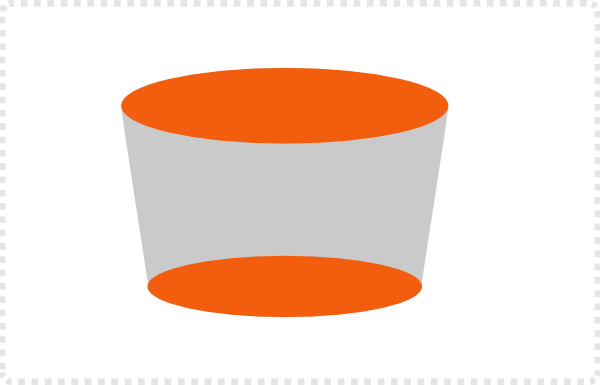
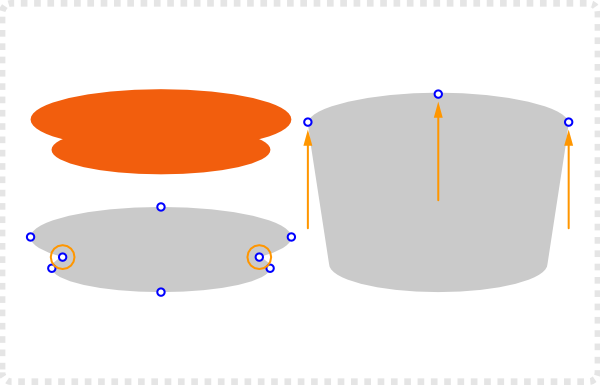
Use ADD to combine the two circles into one shape, removed the ‘indented nodes’ and move the top nodes up to get the base shape.
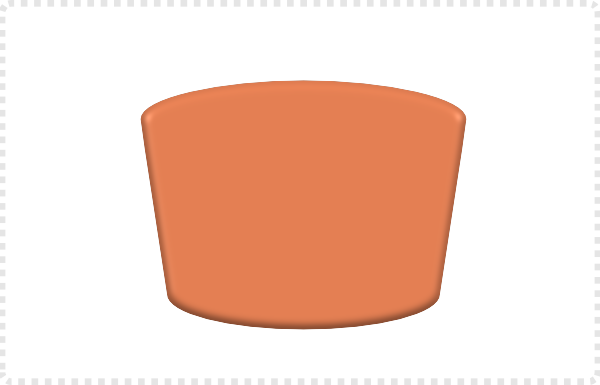
Choose your base colour and add a 3D layer effect. In this case there are two light sources and the upper left and right.
Different Tools
Affinity Designer makes it easy to ad effects to layers [shapes, groups or layers]. A lot of tools don’t have these features and exporting to PDF or SVG will turn the effects into bitmaps or might not export the effect at all. If you need to convert your files to other tools, try and avoid these unique effects as much as possible.

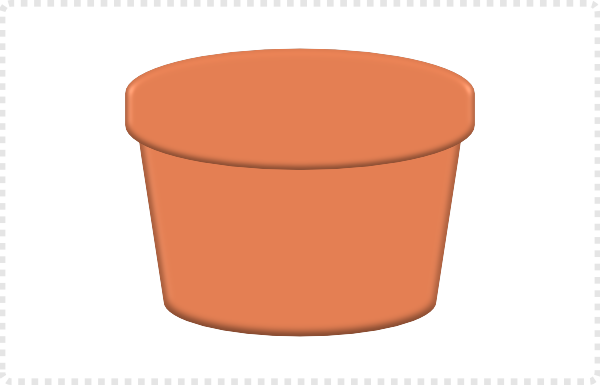
Duplicate the process with a slightly larger version of the ellipse for the top rim.
The base ellipse in a darker shade with another base ellipse inside it for the soil.
Note:
All these are based on the original proportions to keep the look consistent.
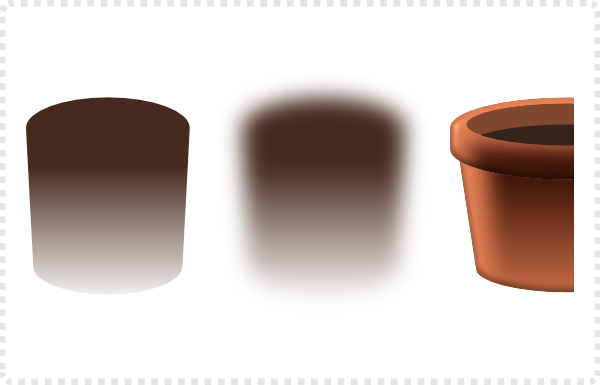
A duplicate of the base pot shape without the effect and a darker shade of brown with a transparent gradient and some Gaussian blur.
Setting the layer from Normal to Multiply gives it a nicer shading colour.
Place the shading elements inside the pot’s base shapes to trim them.
Adding a few more ellipses for the dirt [smaller lighter coloured version with some blur for shading] and a blured version below everying for the shadow to “ground” the pot.
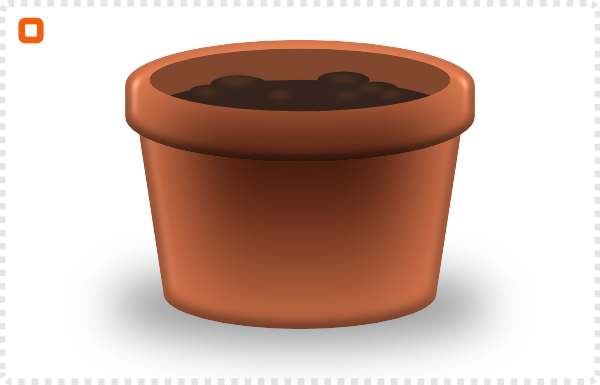
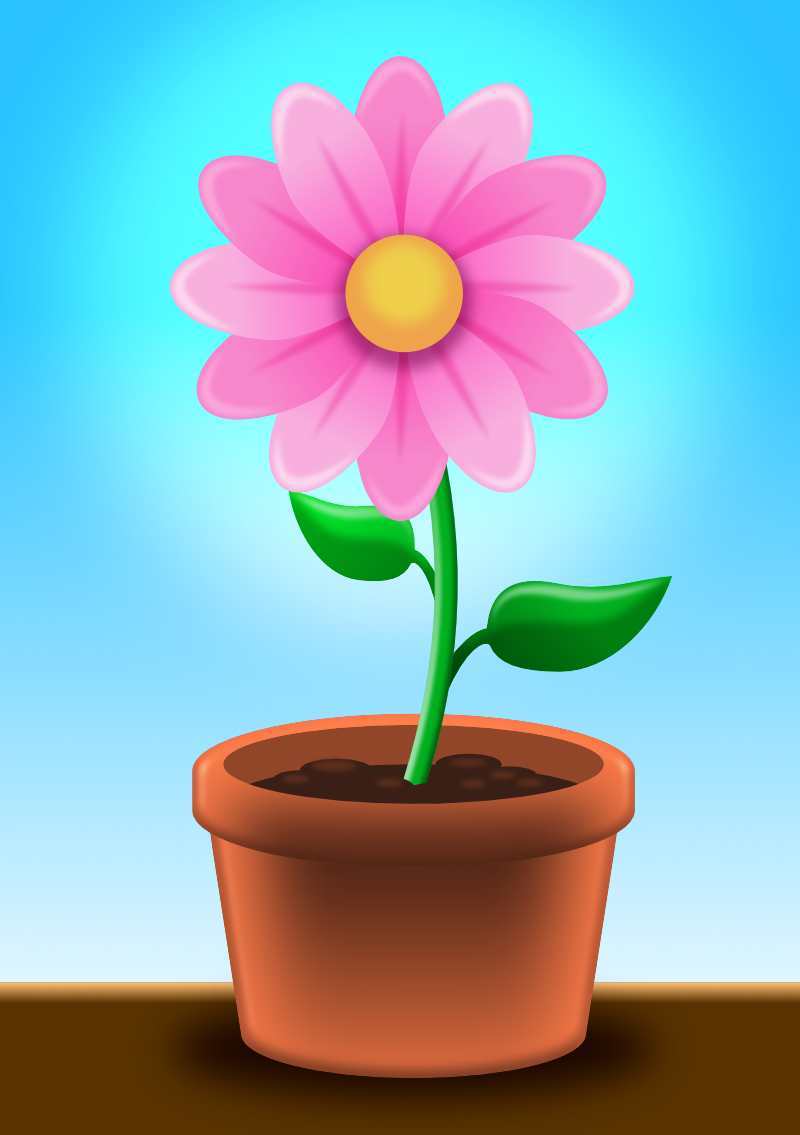
This tutorial is a brief example of shading things with a combination of shapes and layer effects. I am planning on doing some more in the future as the effects can be a nice addition to the vector graphics. They can also look very much out of style if overused as they are basically a bitmap transformation of a vector shape.
Note:
Keep in mind that the layer effects are unique to Affinity Designer. When exporting to e.g. PDF files the output will be a non-editable bitmap to make the effect work in PDF. If you want to keep the shape editable in another program, remove the layer effects and export as pure as possible vector shape. Add the effects in the tool you export to after.
Outlook
This was just ‘out of the schedule’ tutorial as an answer to a question raised on social media. I hope it did give some helpful hint on how to create things simply and easily.
The planned tutorials are still in the pipeline.


