


Creating an adjustable Tumbler Mockup in Affinity Designer v2
Affinity Designer v2 Video Tutorial
In this video tutorial, I create an easy-to-adjust mockup scene with three tumblers using Affinity Designer v2 and Warp Groups. This video is a little more advanced as you would need some knowledge of vector shapes, moving nodes, and working with layers. I explain the creation and realistic shading of the tumbler in vectors. It allows for a more flexible approach than using a photo. In the second part of the video I use the Warp Group introduced in Affinity Designer v2. This allows the wrapped look due to squashing parts of the design to match the tumbler shape. Once set up, the symbols make changes to the design very easy.
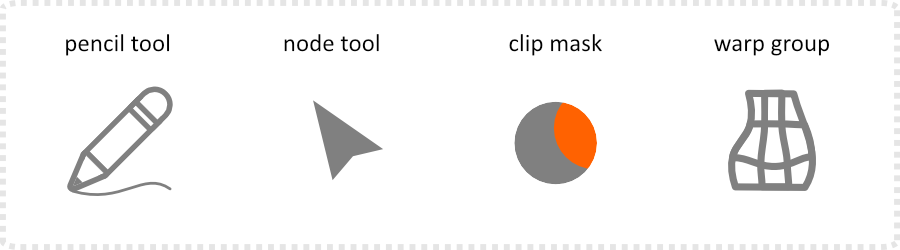
I hope you enjoyed this video. The warp groups are a great addition to Affinity Designer and well worth exploring. Keep it simple and work your way to more complex meshes and deformations. The more nodes you add the harder it is to edit and avoid unwanted deformations.
As always, your feedback is very important to me! Let me know what you think about the video or what you would like to see on the blog.


