Creating a wood-cut print effect in Affinity Designer
Affinity Video tutorial
This video tutorial is about creating a wood-cut print effect in Affinity Designer. The idea for this video came from a weekly challenge in the Facebook group I manage ‘Affinity Designer – hands-on’. It was about global colours, pressure curves and layer blend modes. Each colour gets its own layer – like a separate wood cut in traditional printing or a separate screen when doing screen prints. The colours get added on top of each other. Working digitally, you can mix them by changing the layer blend mode from ‘Normal’ to ‘Multiply’. Now, the colours mix with the colour below and only the colour gets added while white stays transparent.
This is a more advanced tutorial. It will help to have some understanding of Affinity Designers’ tools like the pen or the node tool. I also use pressure curves on the strokes to create the effect of cut lines [I recorded some tutorials on the topic of pressure curves]. In this video, I will be emulating a woodcut print effect using just 3 colours [each in their own layer]. It requires a bit of planning and organization, quite a bit of duplicating and moving around the layer panel – but I think the effect is worth the extra effort.
Main tools

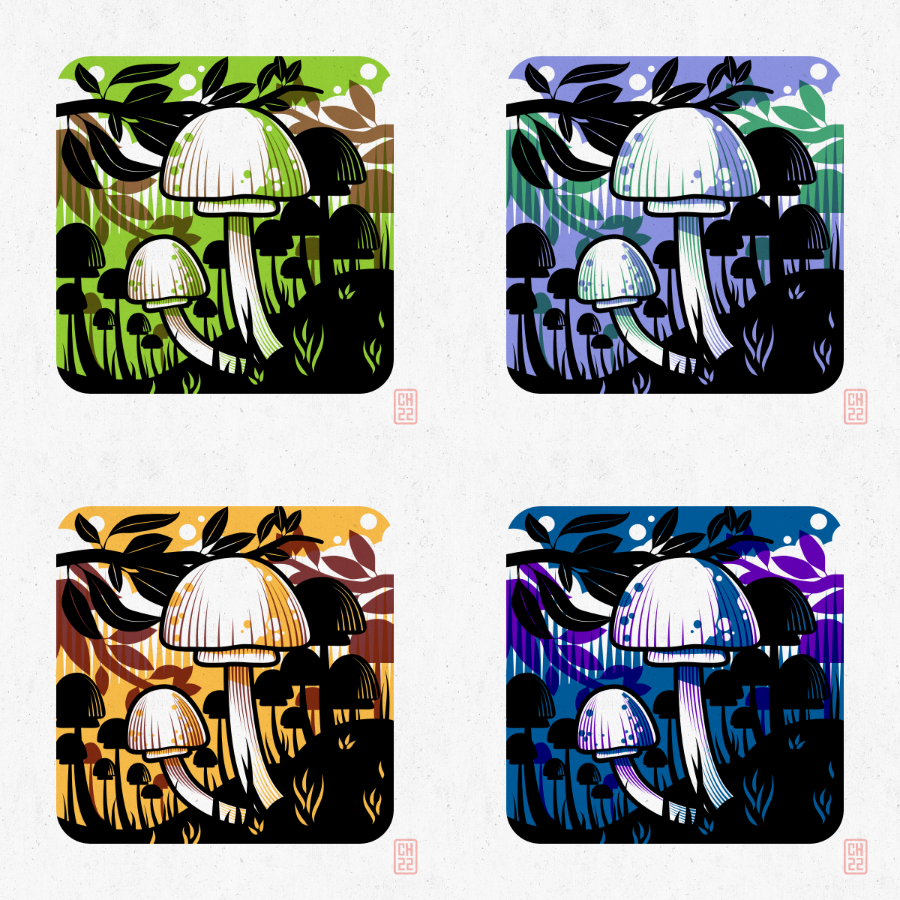
[Note: This design was done as an entry into the 2023 Affinitober with the topic of the day being ‘mushroom’ – no big surprise there ;) ]
[Note: This also was as a design for the 2023 Affinitober and the theme ‘friend’ ]
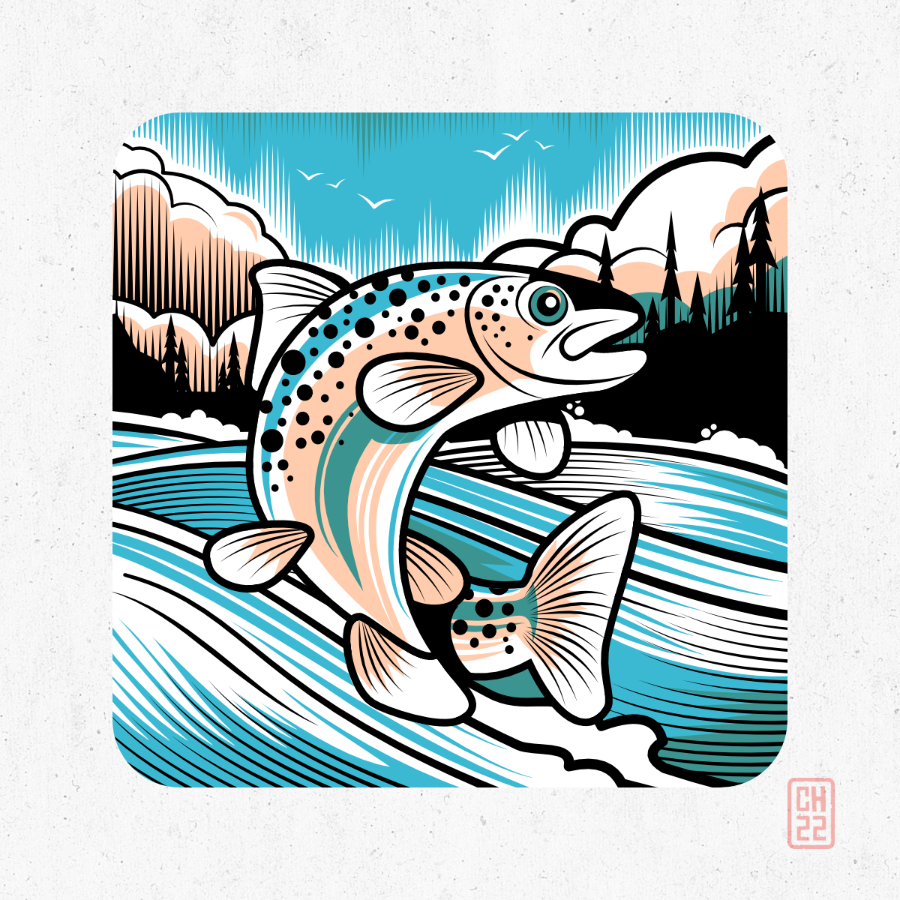
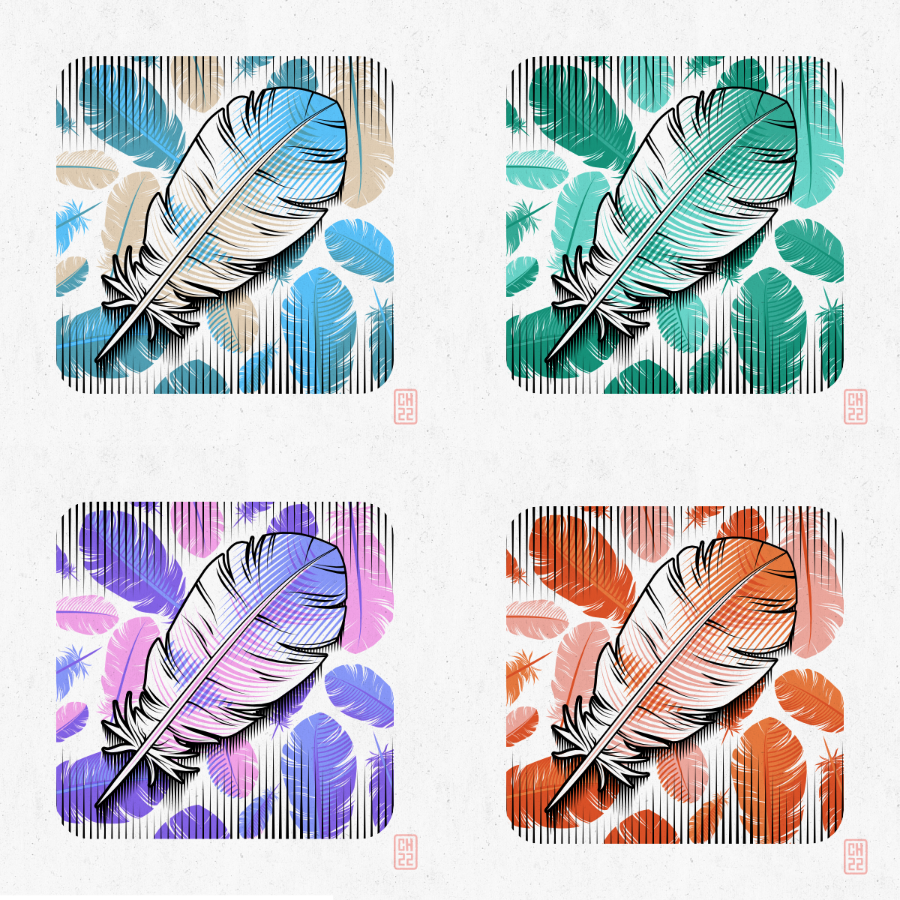
Some more examples of the wood cut effect
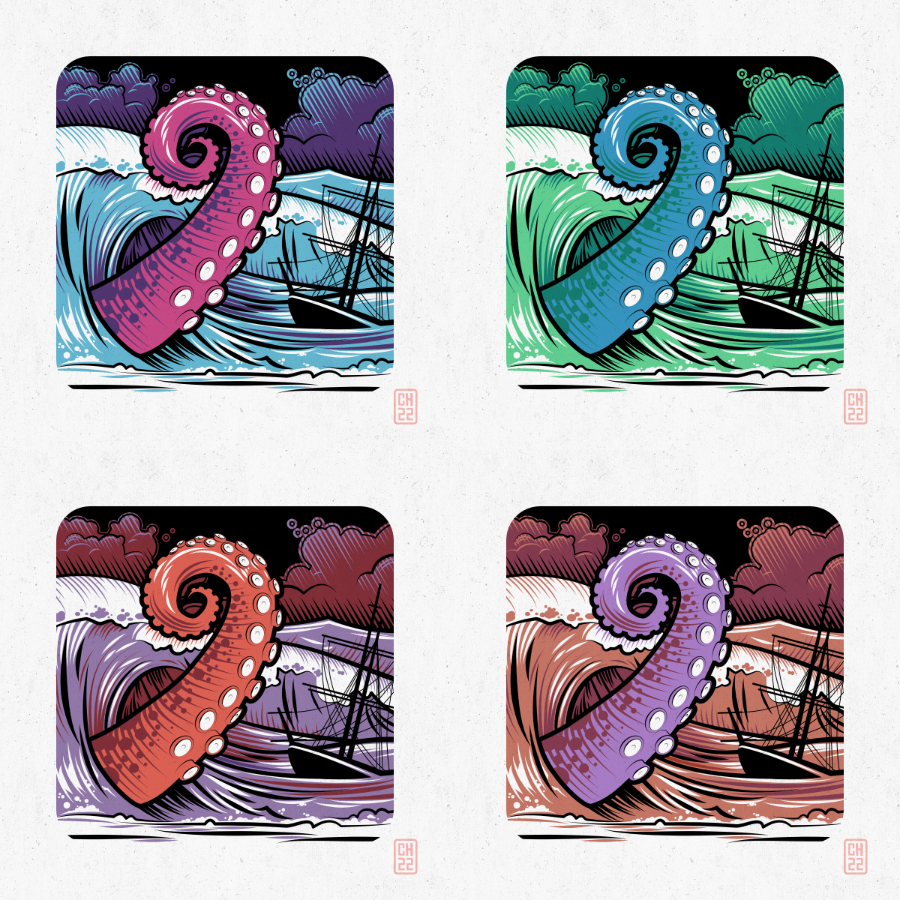

Here’s a separate version of the ‘Kraken’ showing the three colour layers [black, off pink, and light blue].


