Creative Growth – Illustration in Inkscape
It’s Inkscape’s 20th anniversary and they are running a monthly competition. I couldn’t resist the temptation and had to give it a try. It’s another illustration I did purely for fun [and maybe a little bit to see if I can still make it happen]. Lately, the chronic pains and aches have been spiking. I have no idea what triggered it. It’s just annoying and frustrating… but even with low energy levels and more pain than I would like, I still can have a lot of fun with my art.
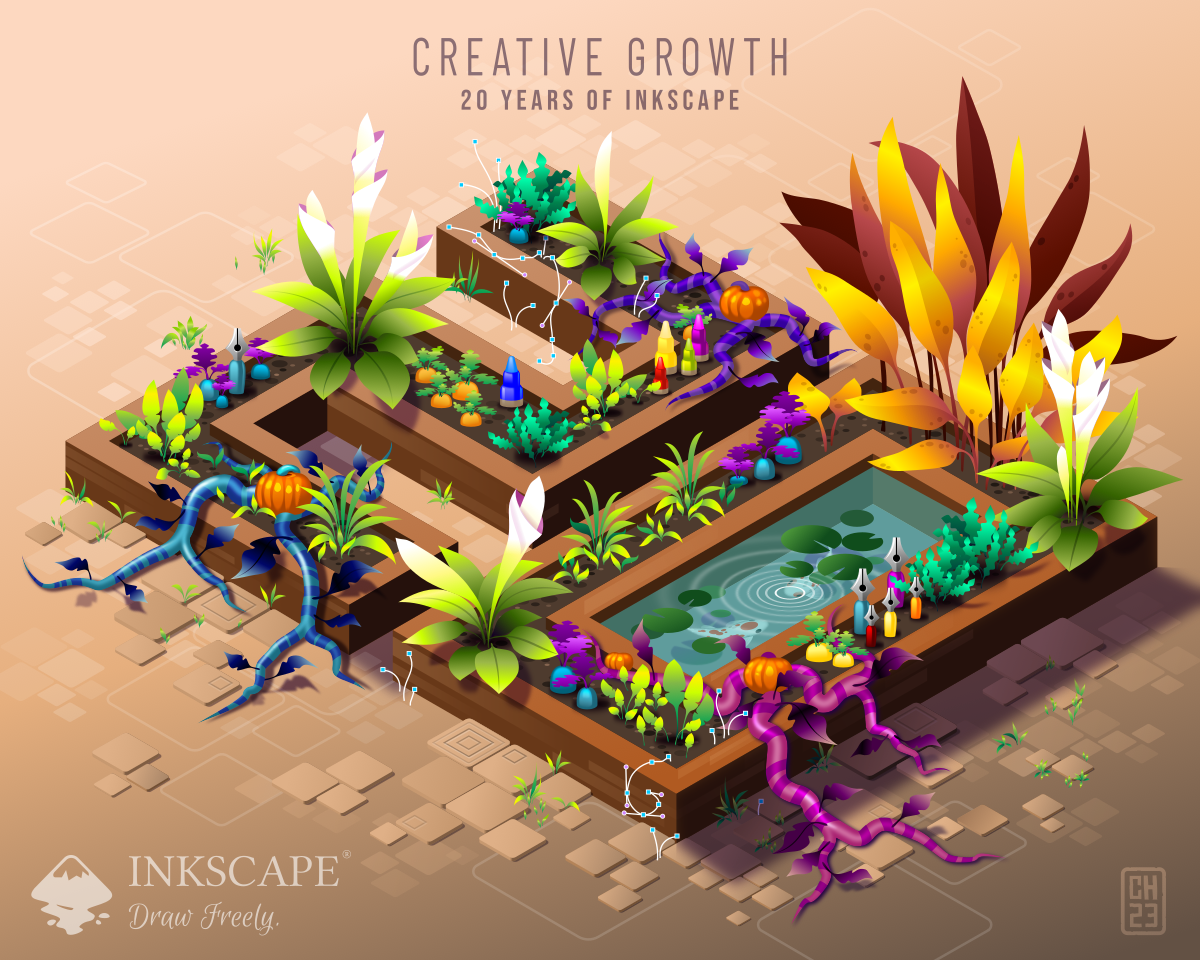
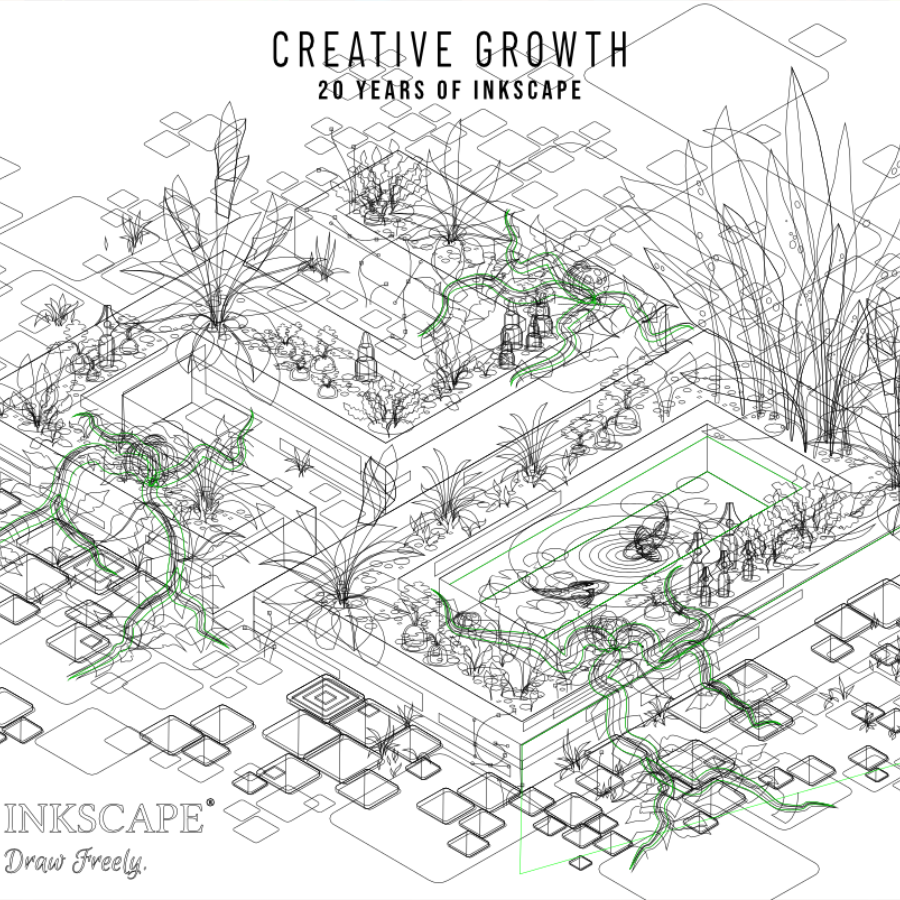

An axonometric grid is the starting point of this illustration. It helps create the two numbers in the right perspective. I duplicated and repositioned them for the top of the planter boxes before adding the sides as new shapes [using snapping for placement]. The path effect Offset creates smaller shapes for the inside soil parts of the planter boxes. The pavers are rounded rectangles adjusted to the grid. I used a plain version as well as one with added depth and shading. Duplicating, scaling, and altering the gradient’s position allows for quick variations and complexity.
Making the vegetation
I used simple lines with Power Strokes for the vegetation. Adjusting the gradient’s position to create the darker shading. This approach seems easier to edit than individual gradients for each leaf.
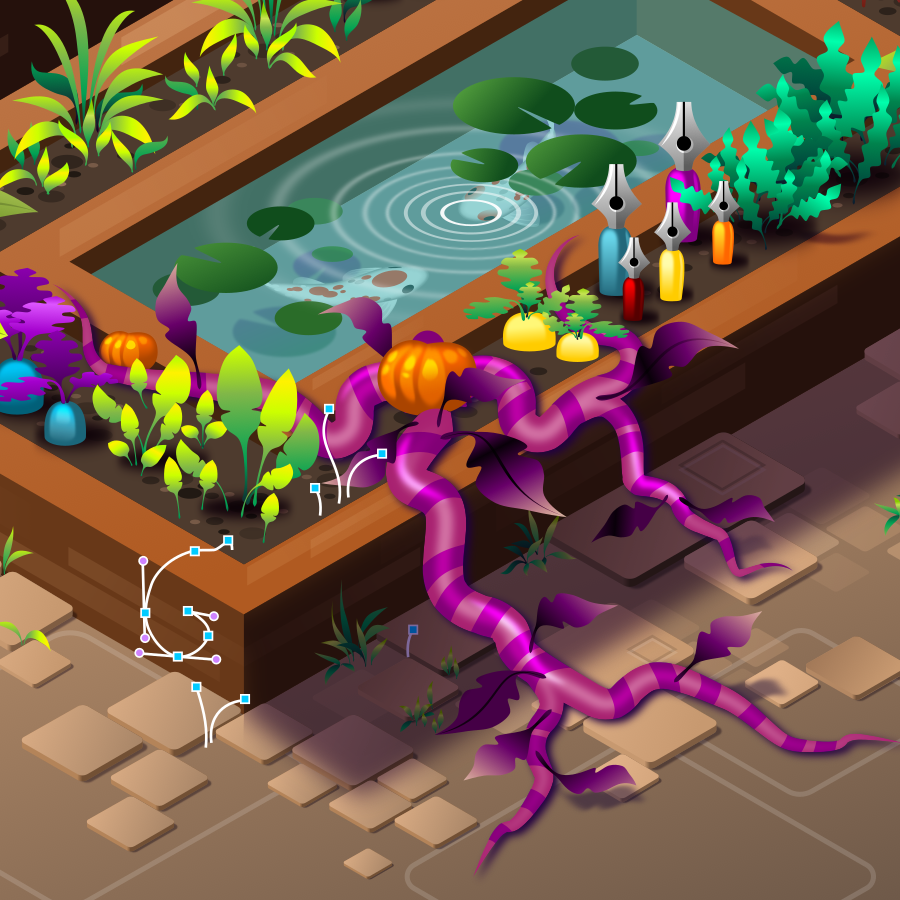
The ‘weird roots’ use Taper Stroke path effects. I group the base shape and use it as a clip in a clip group and a duplicate with added blur and a dark purple makes the shadow. I can then add duplicates of the lines inside the clip group, resize the with of the taper, and easily create shading. Simple lines done with the Pen Tool and a wide stroke set to ‘Overlay’ create the pattern.


