Seamless Pattern – Fish Scales
Inkscape Tutorial
Let’s revisit the seamless patterns and create a fish scales texture. This is another request and a second go at the seamless textures in Inkscape as a step-by-step tutorial. Inkscape is rather particular about the way things need to be done in order to work properly. The wrong sequence and the outcome is in jeopardy.

Let’s get started…

Let’s start with a square. This one Is 512x512px in size.
I set the arrow key movement in the preference to the same amount – 512px.
Next up, let’s create a circle. The size is not that important as long as you don’t make it too big.
We want to have e.g. 4 of them next to each other for our fish scale pattern. More work nicely, less make it a little tricky to add enough variation.
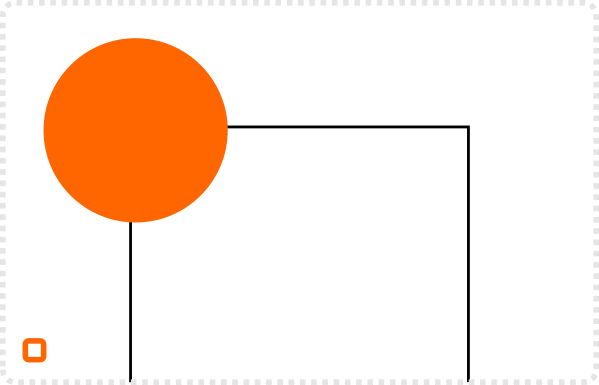
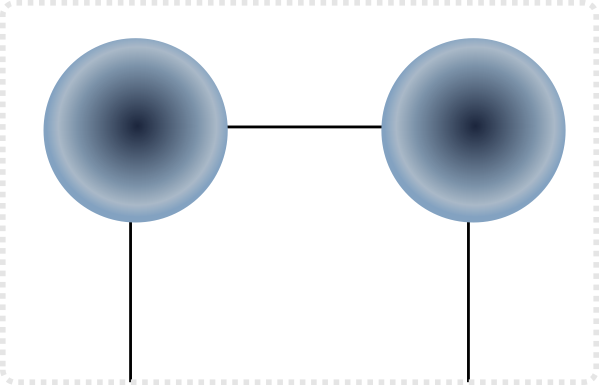
Duplicate the circle and move the duplicate with the arrow keys to right.
Give it a radial fill. A darker centre and a lighter outside with an added highlight colour towards the edge.
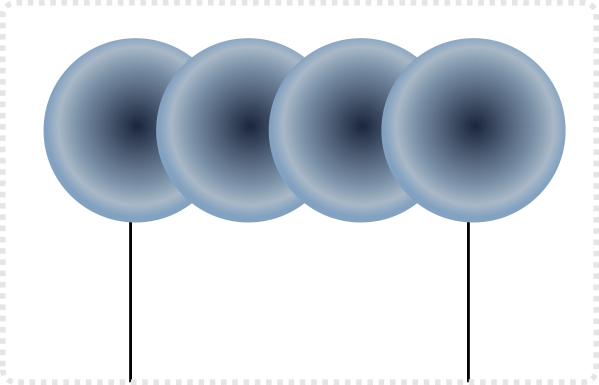
Duplicate the initial circle two more times and use the align and distribute to give the circles even spacing.
If the layering is not right, use [Page Up / Page Down] to adjust it. You want to have the objects properly stacked to create the pattern properly.

Filling the Space
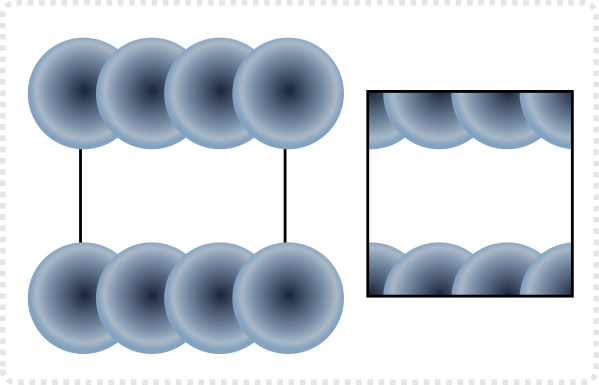
Group and duplicate the row and use the arrow key to move them down.
If you would clip it now you would get a seamless ribbon of circles.
Duplicate the top row again and move it down and offset it by roughly 1/2 the circle size.
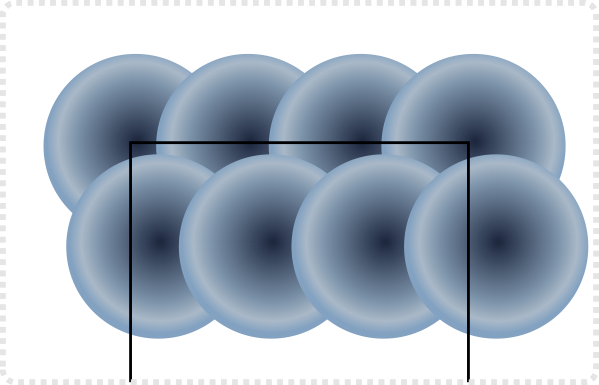
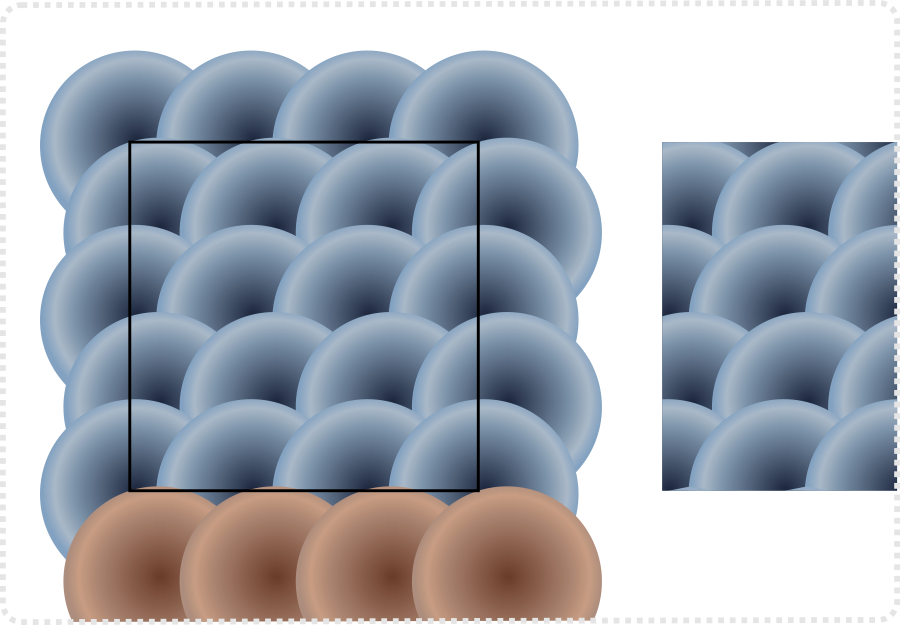
Duplicate the two rows again to fill the vertical space. Use align and distribute to space them evenly.
In this setup I ended up with the 2nd row from the top just barely running over the edge of the square. To ensure seamless tiling, I added and row at the bottom (highlighted) [duplicating the 2nd row from the top and moving it with the arrow key and bringing it to the top].
Group all rows of circles and bring them to the bottom of the layer stack. The square should be on top. Select both elements [the group and the square] and make a clip [Patch/ Clip/ Set].
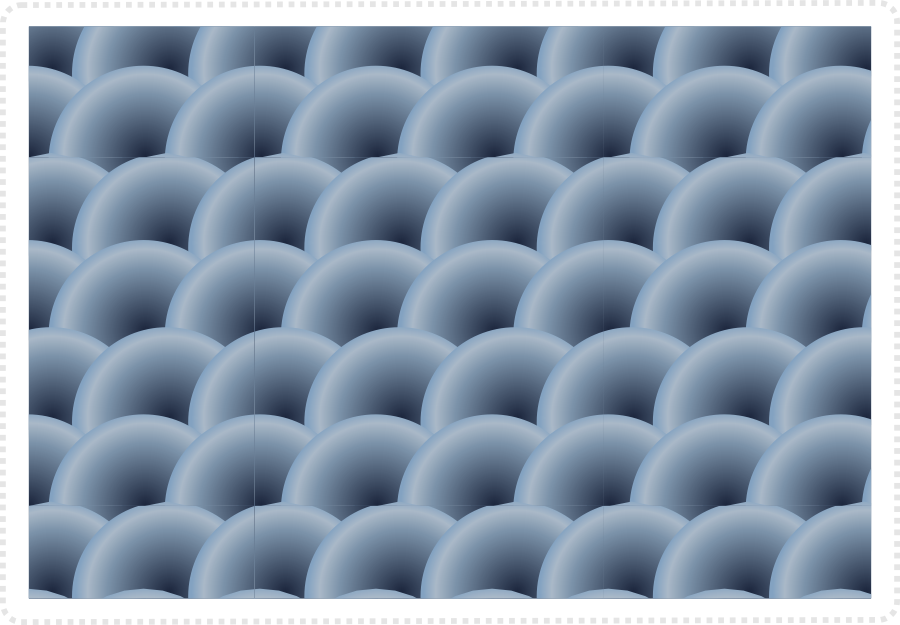
The pattern would look like this when putting the tiles next to each other.

As usual, a little variation goes a long way. A slightly lighter or darker circle or some highlight make it look more intersting.
Note:
Keep in mind to change the matching circle, should the modified circle be on the border of the texture square.
Technical issues:
A known issue when creating the pattern and testing it in Inkscape are lines between the square. When you put together a few square to check is the pattern works, Inkscape will display lines that are (as far as I know) just display issues. When exporting a block it shouldn’t create lines.
Conclusion
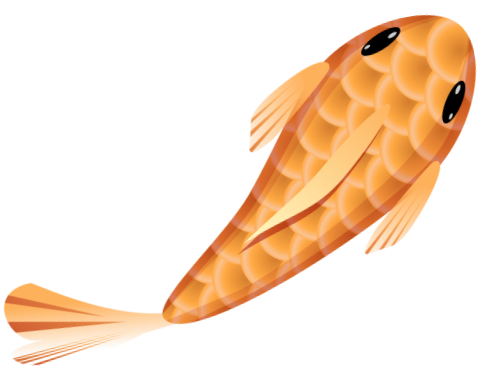
This concludes the “Seamless pattern – fish scales” tutorial. I hope you enjoyed it and it was helpful. Play with the idea, make the pattern more colourful, use it on a fish shape rather than a square for a cool illustration. Ultimately, once you understand the idea, there are unlimited possibilties of where you can take it.
It was good fun playing with Inkscape again and I hope to post some more tutorials soon. A lot of the art has been created years ago and is just waiting to be released.
Get the source files [svg, pdf, affinity and cdr] for this tutorial for free!
I compiled a PDF document [21 pages] with more tile styles, tips, and tricks. The document is free to download and you can open the vector images inside in Inkscape, Affinity Designer, CorelDraw, or the vector tool of your choice. Enjoy!









Love the fish example !
Also nice one on the source files. Very interesting !
After investigating, i noticed there are differences between the AD and the Inkscape file.
For example, why do you use so many groups and create transparency on the fishscale highlight by masking ???
Is there an advantage in using a mask instead of the alpha slider to create transparency ?
Hi Christian,
I have to admit, I did the quick and dirty with the source files… and went from a pdf to the different applications and it didn’t check the layers properly… No… there is no advantage. I should have cleaned it up. I will try to do it this afternoon. :)
No, please dont change it ! Its very interesting to investigate your work. I just cant wrap my head around why you would create transparency with masking. Especially when the mask itself is a gradient with transparency. Actually i was kind of suspecting you used a layermode, but since layermodes without layers are a bit crap in IS, i was really curious.
It’s a PDF feature… PDF can’t handle gradient transparency and creates masks instead… horridly outdated but still does it every time.
Ah-ha ! So that solves the mystery. Interesting to know !