Useful helpers: Align and Distribute
Inkscape tutorial
A simple but very helpful tool that is often overlooked is the ‘Align and Distribute’. It’s the answer to a question I have been asked a few time ‘How do you place your objects precisely in line?’.
The tool can do a lot more than that by aligning not only objects but groups of objects.
In order to ‘kill two birds with one stone’ I am going to use and explain the tool while creating a cute animal. What defines cuteness? Cute usually is achieved by more ‘child-like’ proportions – round shaped heads, big eyes, small nose, small body. Perfect for my favorite start of a tutorial: “Let’s create a circle” – well in this case we create three.
Let’s get started with circles

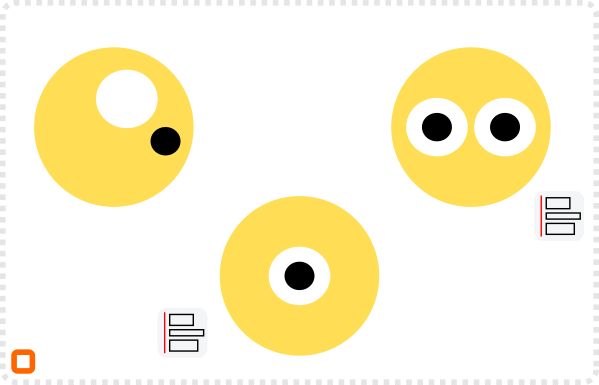
Let’s start with a yellowish, a white and black circle.
Align (CTRL-Shift-A) the two smaller objects in the centre of the yellow circle.
Duplicate the eye and group both eyes and align them to the centre of the circle.
With the eyes in place move the iris for a slightly less dull look and add some highlights.
Duplicate the yellow circle and colour it in a more beige tone to create the mane. Centre it.
Create a triangle.
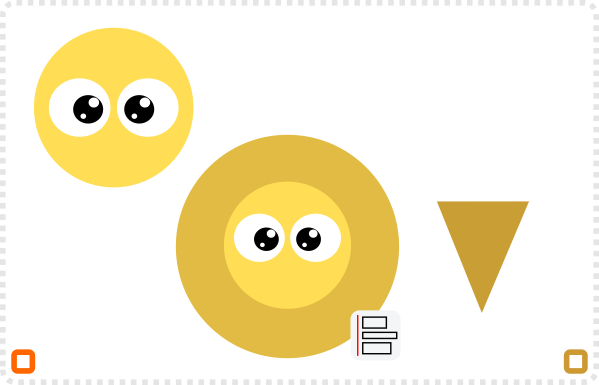

Duplicate the triangle and the mirror it down. Group the two elements (CTRL-G).
Centre the triangles to the mane and scale them to cover the height.
Duplicate and rotate the shapes by 90 degrees. Hold the CTRL key down while rotating to snap the angle.
Group the two groups and duplicate and rotate them two more times with the CTRL key pressed to get an even distribution.
Duplicate the mane circle and use the clip tool to place the triangles inside.
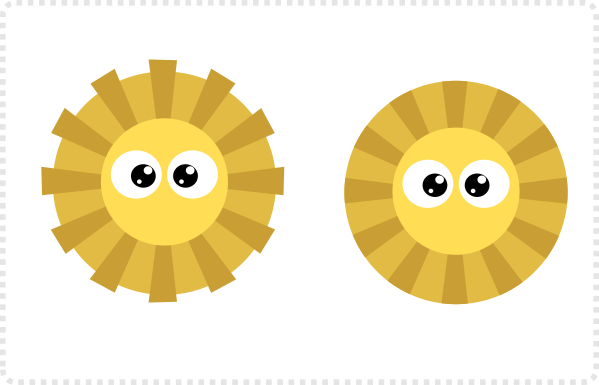
Users familiar with Adobe Illustrator or CorelDraw for example might ask why I bother with the duplication and rotation when it’s already build in. You create one copy, rotate it and the next copy will be a repeated version and you can create the full circle of triangles that way.
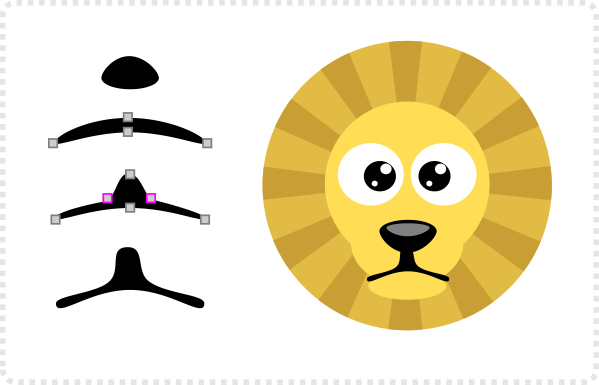
Let’s give the lion some facial features. The mouth might like conplexe but really it’s just an up-side-down Y and if the deforming of the circle looks too difficult you might try using 3 separate elliptical shapes to create the same effect.

Shaping the Face
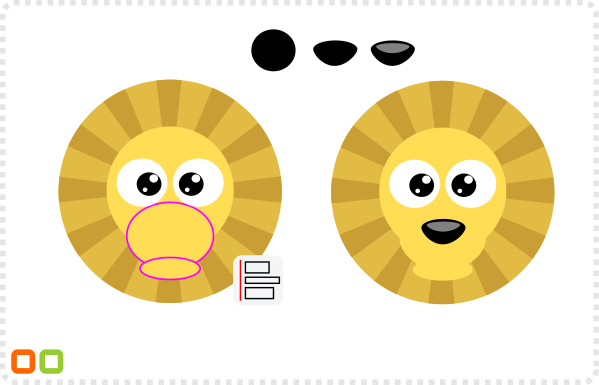
Duplicate the yellow circle and scale it down to create a longer face.
Create a black circle, convert it to a path and deform the path to form the nose.
Duplicate to create the highlight.
Duplicate the nose and deform the path to form the mouth. Add two nodes to create a mirrored Y shape.
Place the Y shape under-neath the nose.
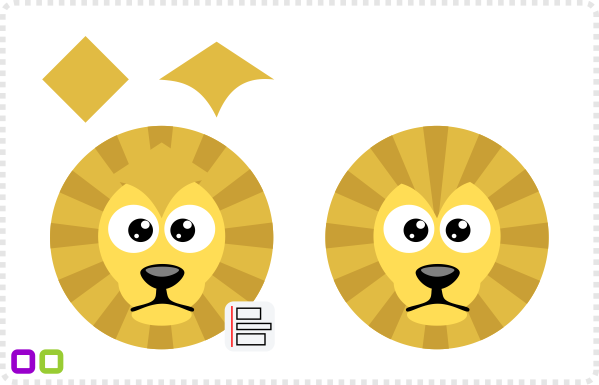
Create a square, rotate it 45 degrees, convert it to a path and deform the bottom lines to curve them in.
Align the shape horizontally to the face and mane.
Using the Path/ Difference (CTRL + -) cut the square from the face.
Create an circle for the ear. Deform the nodes to make it pointy. Duplicate the shape with a darker tone.
Duplicate and mirror the ear. Group the two ears and use the align tool to centre them to the head.
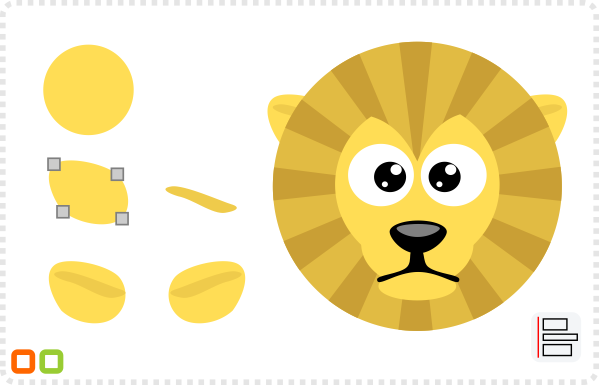
Final result
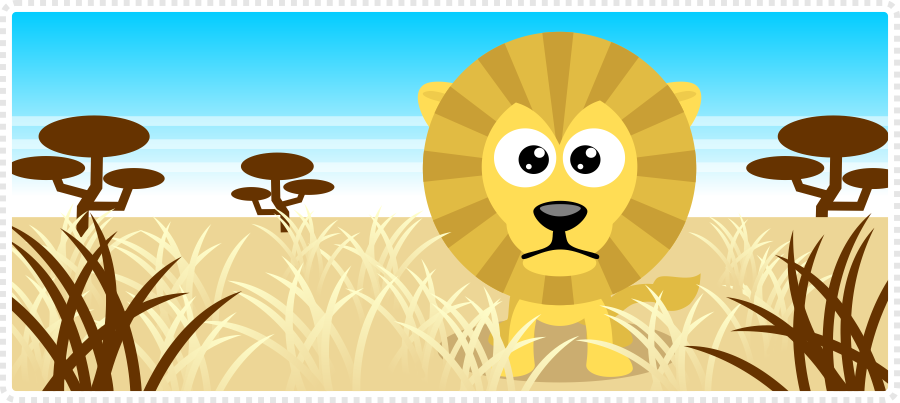
I added another circle for the body, a deformed circle for the leg and the paw, duplicated them 3 times to create the legs and added a line with a deformed circle with a pointy edge for the tail. A simple (and in my opinion cute) little lion.
With a little bit more detail (eyelids and eyebrows) it’s easy to give the lion some features and create some variations.
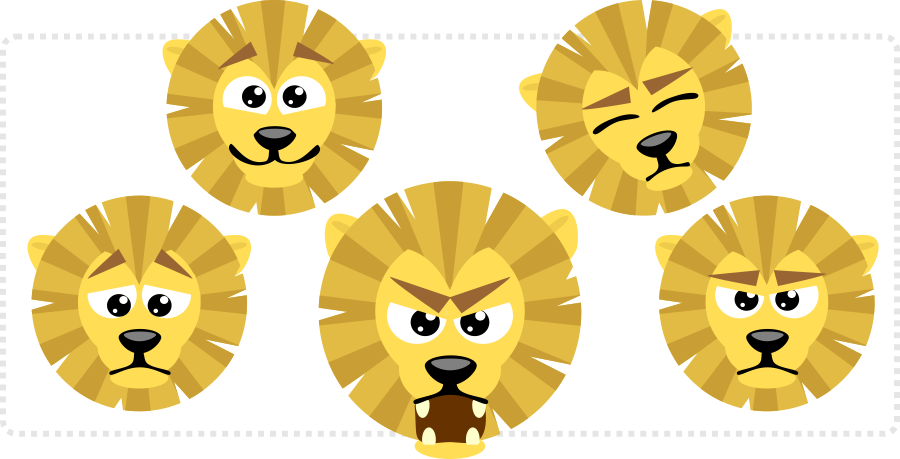
Variations
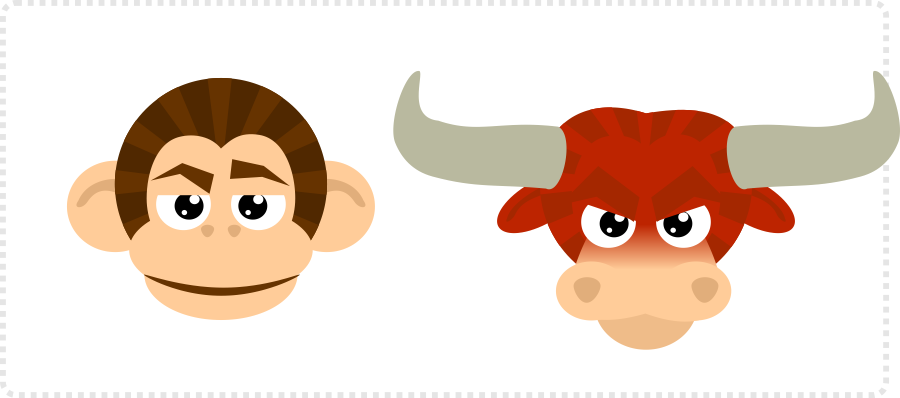
Variations don’t stop there. Taking the basic shapes, rearranging them and changing the colours you have a whole zoo at your fingertips.
Get the source art [ svg and pdf] files here for free!
I hope you enjoyed the tutorial and start playing around with the tools inkscape (and other vector tools) have to offer to create some magic.
USD 3.00
buy










Awesome tuturial !! As always !!
Thanks for the tutorial!! I will definitely be using these in my games!
Can you give some more explanation for Step 3? How do you align the eyes with the center of the circle?
After you group the eyes, you select the circle. Hold shift and select the group. Now you have two 2 objects selected. Bring up the align panel (CTRL-SHIFT-A) or click on the aiignment icon. Now you get a panel and can select in the drop down what you want to align to – standard is page – change to 'first selected' (which is the circle) and then you can align horizontally and vertically.
I hope this explains it a little better.
Thanks Chris, your explanation helps a lot.
Really nice to see you post again, its been a while but as always, its worth it, hope all is good at your end. One thing ive noticed is the random changes before exporting the pngs have, lets say when i have a square of 30w and 30h , when i want to export it as png, it will export sometimes as 15×15 or 11×17 , changes eachtime
Forgot about such align techniques. Do you by chance use inkscape to create sprite sheets? For example, I've been working on a standing position of a humanoid character, side profile. Now in the same image I have setup guides, and I want to do a profile image, and start creating "walking" frames, so i can create animation. I've created frame blocks by positioning guides. But i've been finding positioning the head at the same spot in each frame rather tricky.