Creating a Flower using Symbols in Affinity Designer
Affinity Designer Tutorial
This quick tutorial on creating flowers was a reply to a question on a social media site. When you do simple flower shapes, you usually want a quick and easy way. In Affinity Designer the use of symbols offers both – ease and speed.
And here we go…
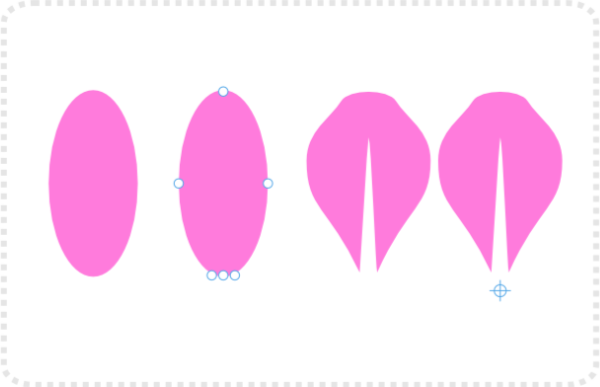
For the flower petal, begin with an ellipse, convert it to a curve, and add two more nodes on either side of the bottom node. Move that node up, and sharpen the angles.
Move the pivot point to the bottom centre and make the petal a symbol.
Duplicate the symbol a few times to fill the shape. Seeing it’s a symbol, changes to one petal will alter all the others [refining the curve or adding a gradient].
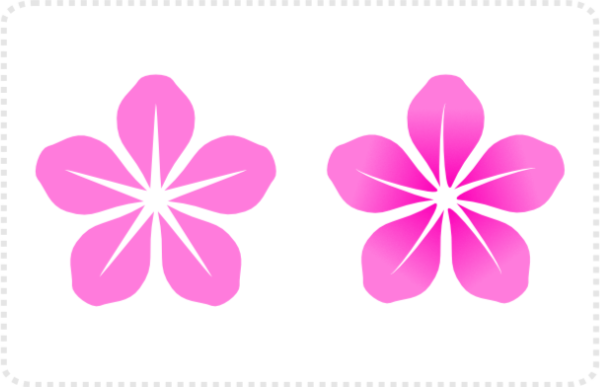
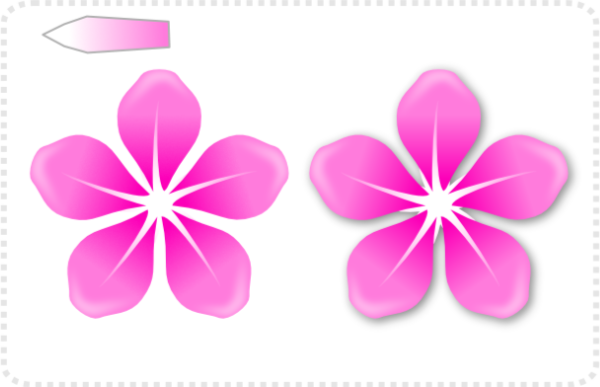
The symbols are not limited to one shape, you can add more shapes to the symbol – e.g. an inner shape or a bit of blurred highlight. Group the symbols and a drop shadow to the group.
Note:
If you add the drop shadow to the symbol, the shadows would overlap the symbols below.
The fact that all elements get updated when changes to one symbol are made also poses an issue when you want variations in the same design.
If you copy the design to a new document, make the changes, and copy it back into the original document, you create a new symbol that won’t alter the old one.
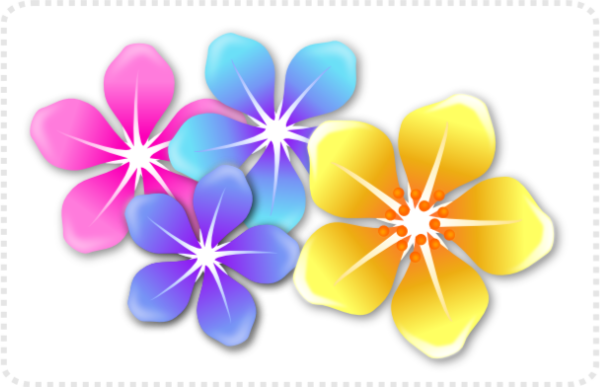
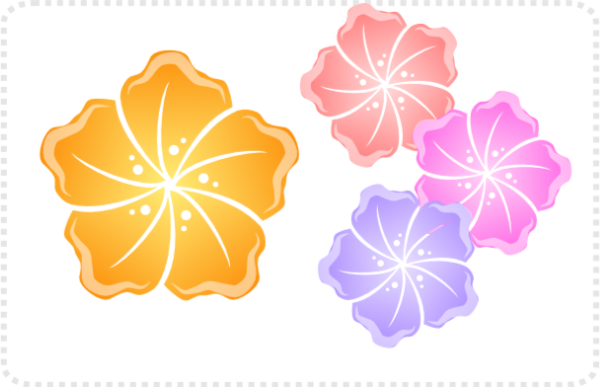
You can also do simple colour variations by assigning a colour overlay to the grouped flower.
Setting the blend mode to e.g. ‘Colour’ allows for gradients to remain intact.
I think this is a great little hack to play around with to create something wild and wonderful. Enjoy!











It’s great you are back and so active!
Thanks! I finally found some spare time and a new approach to the whole youtube video issue and worry less about the technical side but more about getting the content out… and I finally enjoy doing videos.