


Shading a game character’s face in Affinity Designer
Affinity Designer Video Tutorial
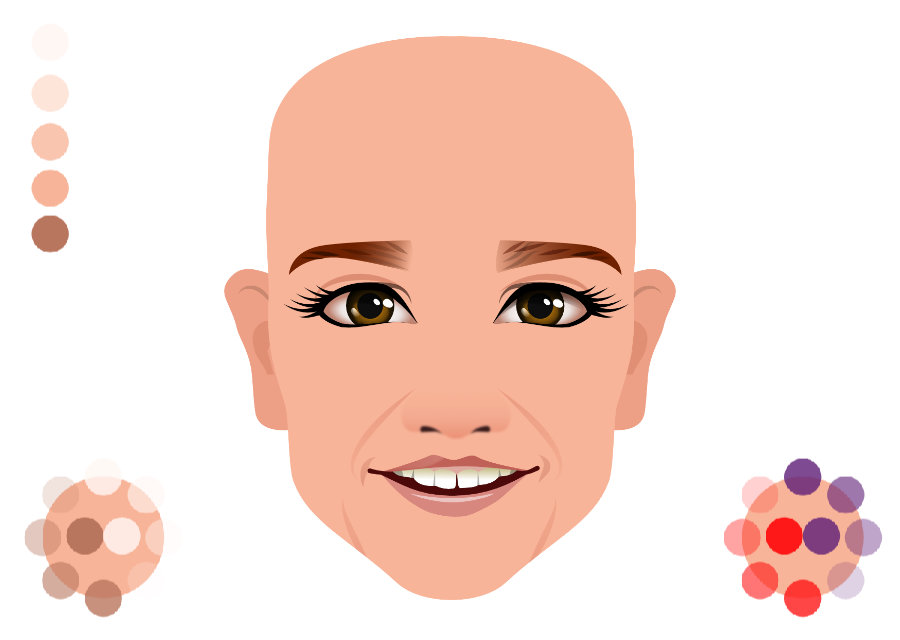
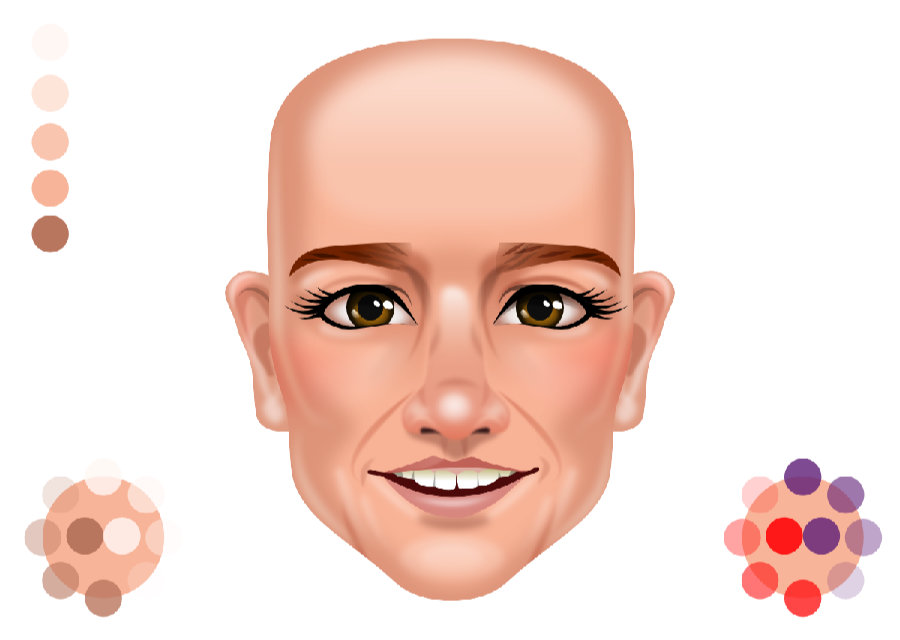
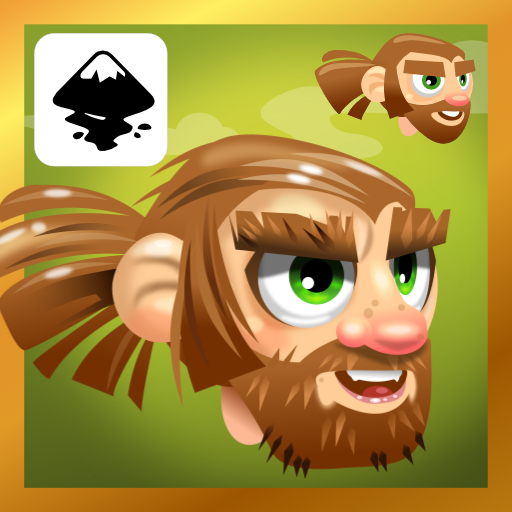
In this video tutorial, I will show you the process of quickly and easily shading a game character’s face in Affinity Designer. I will start with an unshaded face. The head shape is already defined. The eyes, the mouth, and the nose are in place. We will take this flat look and by using symbols, blurs, and lines give it depth and colour.

Tools used to shade the character’s face
I am mainly working with the Gaussian Blur on simple shapes and tapered lines. The blend modes are adjusted for shading. I prefer a ‘Multiply’ with opacity to a ‘Normal’ for shadows. Try and avoid plain black and white for your shading. It easily ends up looking dead. A rich dark brown or a deep purple works just as well. Have a go and play with the colours that work best for you. Placing objects in clipping groups helps constrain the elements inside, especially when using effects like a blur.
Recycle as much of the art as possible! I duplicate and modify rather than create from scratch. It helps speed up the creation process a lot.
I put the two images in a before and after to show the difference the shading makes.
I hope you enjoyed this video tutorial. Please, subscribe to my channel, like, and leave a comment]. It’s not hard shading a face with simple shapes as long as you keep it easy. More layers don’t mean better results. Play around with the techniques mentioned in the video. Try out different light settings. Find interesting reference images to work from. Most of all enjoy it!


