


Building game assets
Inkscape


Start with a rectangle and skew it.
Click on the object to bring up the rotation-deformers and choose one of the sides to move.
Note:
Holding CTRL while skewing gives you fixed angles.
After duplicating and moving one part upwards, add some decor to the roof (e.g. some lines) and group this side of the roof.
Duplicate the group and mirror it to create the complete roof.


Add another rectangle, convert it to a path (SHIFT + CTRL + C).
Select all four nodes and add additional nodes with the insert new nodes button.
Move the top centre node upwards to match the angle of the roof. There is no need to be 100% accurate as the roof will cover it.
With the basic elements in place, it’s time for some decorations.
Two more rectangles make up the boards on the front, a square is turned into a window and combined with another rectangle and a circle makes the door.


While you are working on the deco elements, think of variations. These may range from colour changes to different shapes or added features.
It will make creating a variety of buildings a breeze.
Duplicate the front of the building and the windows and place them next to the existing hut for an extension.
Select the top node and delete it.


Create a rectangle to make the roof of the extension.
Add the colour of the main roof, create a smaller rectangle at the top as well as some lines to match the style of the main roof and you got a simple extension.


The chimney is created through the duplication of a few simple rectangles and rounded rectangles.
Start by creating a larger rectangle, duplicate this rectangle scaling it down to form the lip, duplicate the lip rectangle scaling it down and lengthening the bottom to form the chimney body.
Add a few rounded rectangles for detail.
Just like the doors and windows, the chimney can be varied easily.
A scaled up version with an added rectangle (Combine/ Union) makes it more like a bigger fireplace.


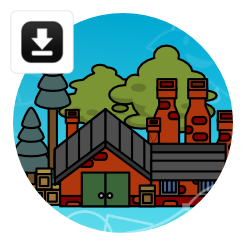
Adding the chinmeys on a layer behind the house completes the building.
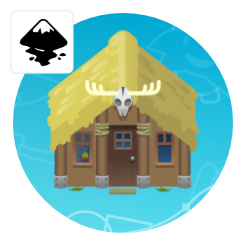
With different elements at your disposal, making variations and new buildings becomes a breeze.
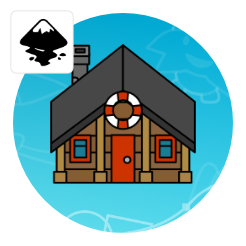
The same setup with some colour changes, a different door and changed windows makes for a whole new look.

When tasked with a multitude of buildings, it‘s helpful to keep the main elements at your disposal and keep adding to them while creating new variations. This way you mainly „copy and paste“ existing elements and add to them, instead of creating from scratch.

I hope you enjoyed this tutorial as much as I did to create one again after a long break!
PS.:
Looking at the art, I might just take the buildings to the next level, remove the stroke and add more detail in a follow-up tutorial.


thank you very much Chris for another great tutorial. Now I just need to get started…
Great tutorial! Can't wait to make my own little village!
Awesome tutorial indeed, those who are learning 2D game art should see this tutorial. Well, I am searching some graphic design tutorial but found this blog and I am really happy to see because I learn lots of things from here.
you are the best i ever seen. thank you.
[…] https://2dgameartguru.com/building-2d-gameart-houses-the-quick-and-easy-way/ […]