


Using erase versus clip for Masking
Affinity Designer Tutorial
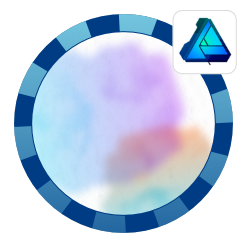
This is a quick tutorial on masking with the erase blend option or a clip derived from a question on social media. The project was similar to the stamp we are creating here. It combined a few basic shapes. There was a need for transparency. I put some diagonal lines in the background to visualize it in this tutorial. In Affinity Designer you can set the document’s transparency in the File/Document Setup/ Colour tab.
Let’s roll


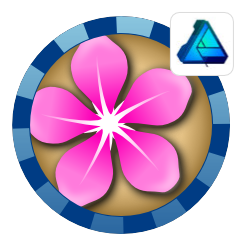
Start with the basic shapes: two circles, a rectangle with rounded edges, the text, and some more circles for decoration.
Combing them all into one design, the elements overlap. We could use a boolean subtract but it would be destructive and make changes harder later on.


Duplicate the rectangle and give it a fill colour.
Group the duplicated rectangle with the circles and set the blend mode to ‘Erase’.
Note:
Make sure the rectangle sits at the top of the group in the layer stack.
The rectangle should be cut out of the circles.


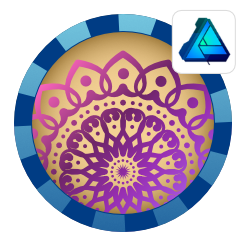
Grouping the design will allow to apply opacity or a Multiply blend mode to the stamp. An added grunge pattern (also set to Erase) added at the top of this group creates a worn look.
Using a clip to mask
Alternatively, you can use a clip to mask the overlapping elements. Affinity Designer makes it easy to create clips. I wrote a tutorial about it a while back – Using clips in Affinity Designer.
Let’s get Clipping

Create two duplicates of the rectangle. One remains the original size, one will be scaled up to encompass the circles.
Combine the new duplicates via [Subtract]. It will cut the smaller shape out of the bigger rectangle.


Place the circles inside the new shape. Either via dragging in the layer panel or with the context menu ‘Mask to below’.
Note:
You need to have the mask on top and the circles grouped if you use the ‘Mask to below’.
Setting the colour of the masking clip to transparent, you should have the desired effect.
I hope this little tutorial proves helpful. Ultimately, there are a lot of different ways to approach the problem, using a ‘non-destructive’ method is definitely preferable in my opinion. Alterations happen, changes might be necessary, and even though this design is simple, other projects might be a lot more complex. Losing the ability to change the project later on or having to spend time going back a lot of steps, is far from ideal.


